Lockdown Yeast: How I captured my pandemic sourdough starter
At the beginning of the COVID-19 pandemic lock down when stores and restaurants were closed, I, like many others, found myself unable to get some basic every day staples, like bread. I was craving all sorts of leavened goodies that were once part of my everyday life that I could no longer get. And also like many others, I decided to try my hand at making them myself at home, only to be met with the run on packaged commercial baking yeast when doing so. I resigned myself to no longer being able to have char siu bau or a fresh baguette (at least for a while). That is until I found this Twitter post from the yeast geneticist, Sudeep Agarwala. And that changed everything.
Yeast is everywhere. Capture it!⌗
Dr. Sudeep Agarwala points out that yeast is abundant everywhere on earth, and you don’t have to buy it from packages from the supermarket. It can be captured and harvested in the wild off of all sorts of things, like dried fruit for example. At that time, I already had a package of dried mangos in the cupboard, so I gave it a shot.
It was loosey goosey. And funky.⌗
Dr. Sudeep Agarwala’s directions were pretty loose, which I am quite thankful for, so I kept my perspective on this process very loose as well. I didn’t worry about exact measurements or weights. I just did it. I started with half of piece of dried mango (don’t ask me how big) placed in some water (don’t ask me how much, probably a few ounces), in a small jar (don’t ask me what size) and stirred it around. An hour or so later (don’t ask me exactly how long), the water started to get just a little cloudy.
At that point I added 2-3 tablespoons(-ish) of all-purpose flour and gave it a good stir. Per instructions, I covered it loosely and let it sit for a day or two (I don’t know now may hours) until it started to form bubbles (don’t ask me how many). I kept it warm on my lap when I remembered, but otherwise, it sat on my kitchen counter.
On day 2, you could see that bubbles had formed and it smelled, well… kinda funky – like overripe strawberries with an undercurrent of buttermilk. Per instructions, I discarded all but a small amount, like maybe a tablespoon or two, then added two tablespoons of flour and a small bit of water, gave it a stir and let it sit again, loosely covered, for 1 or 2 more days. I also took the chunky re-hydrated mangos out, as they were looking, well… funky.
It’s alive!⌗
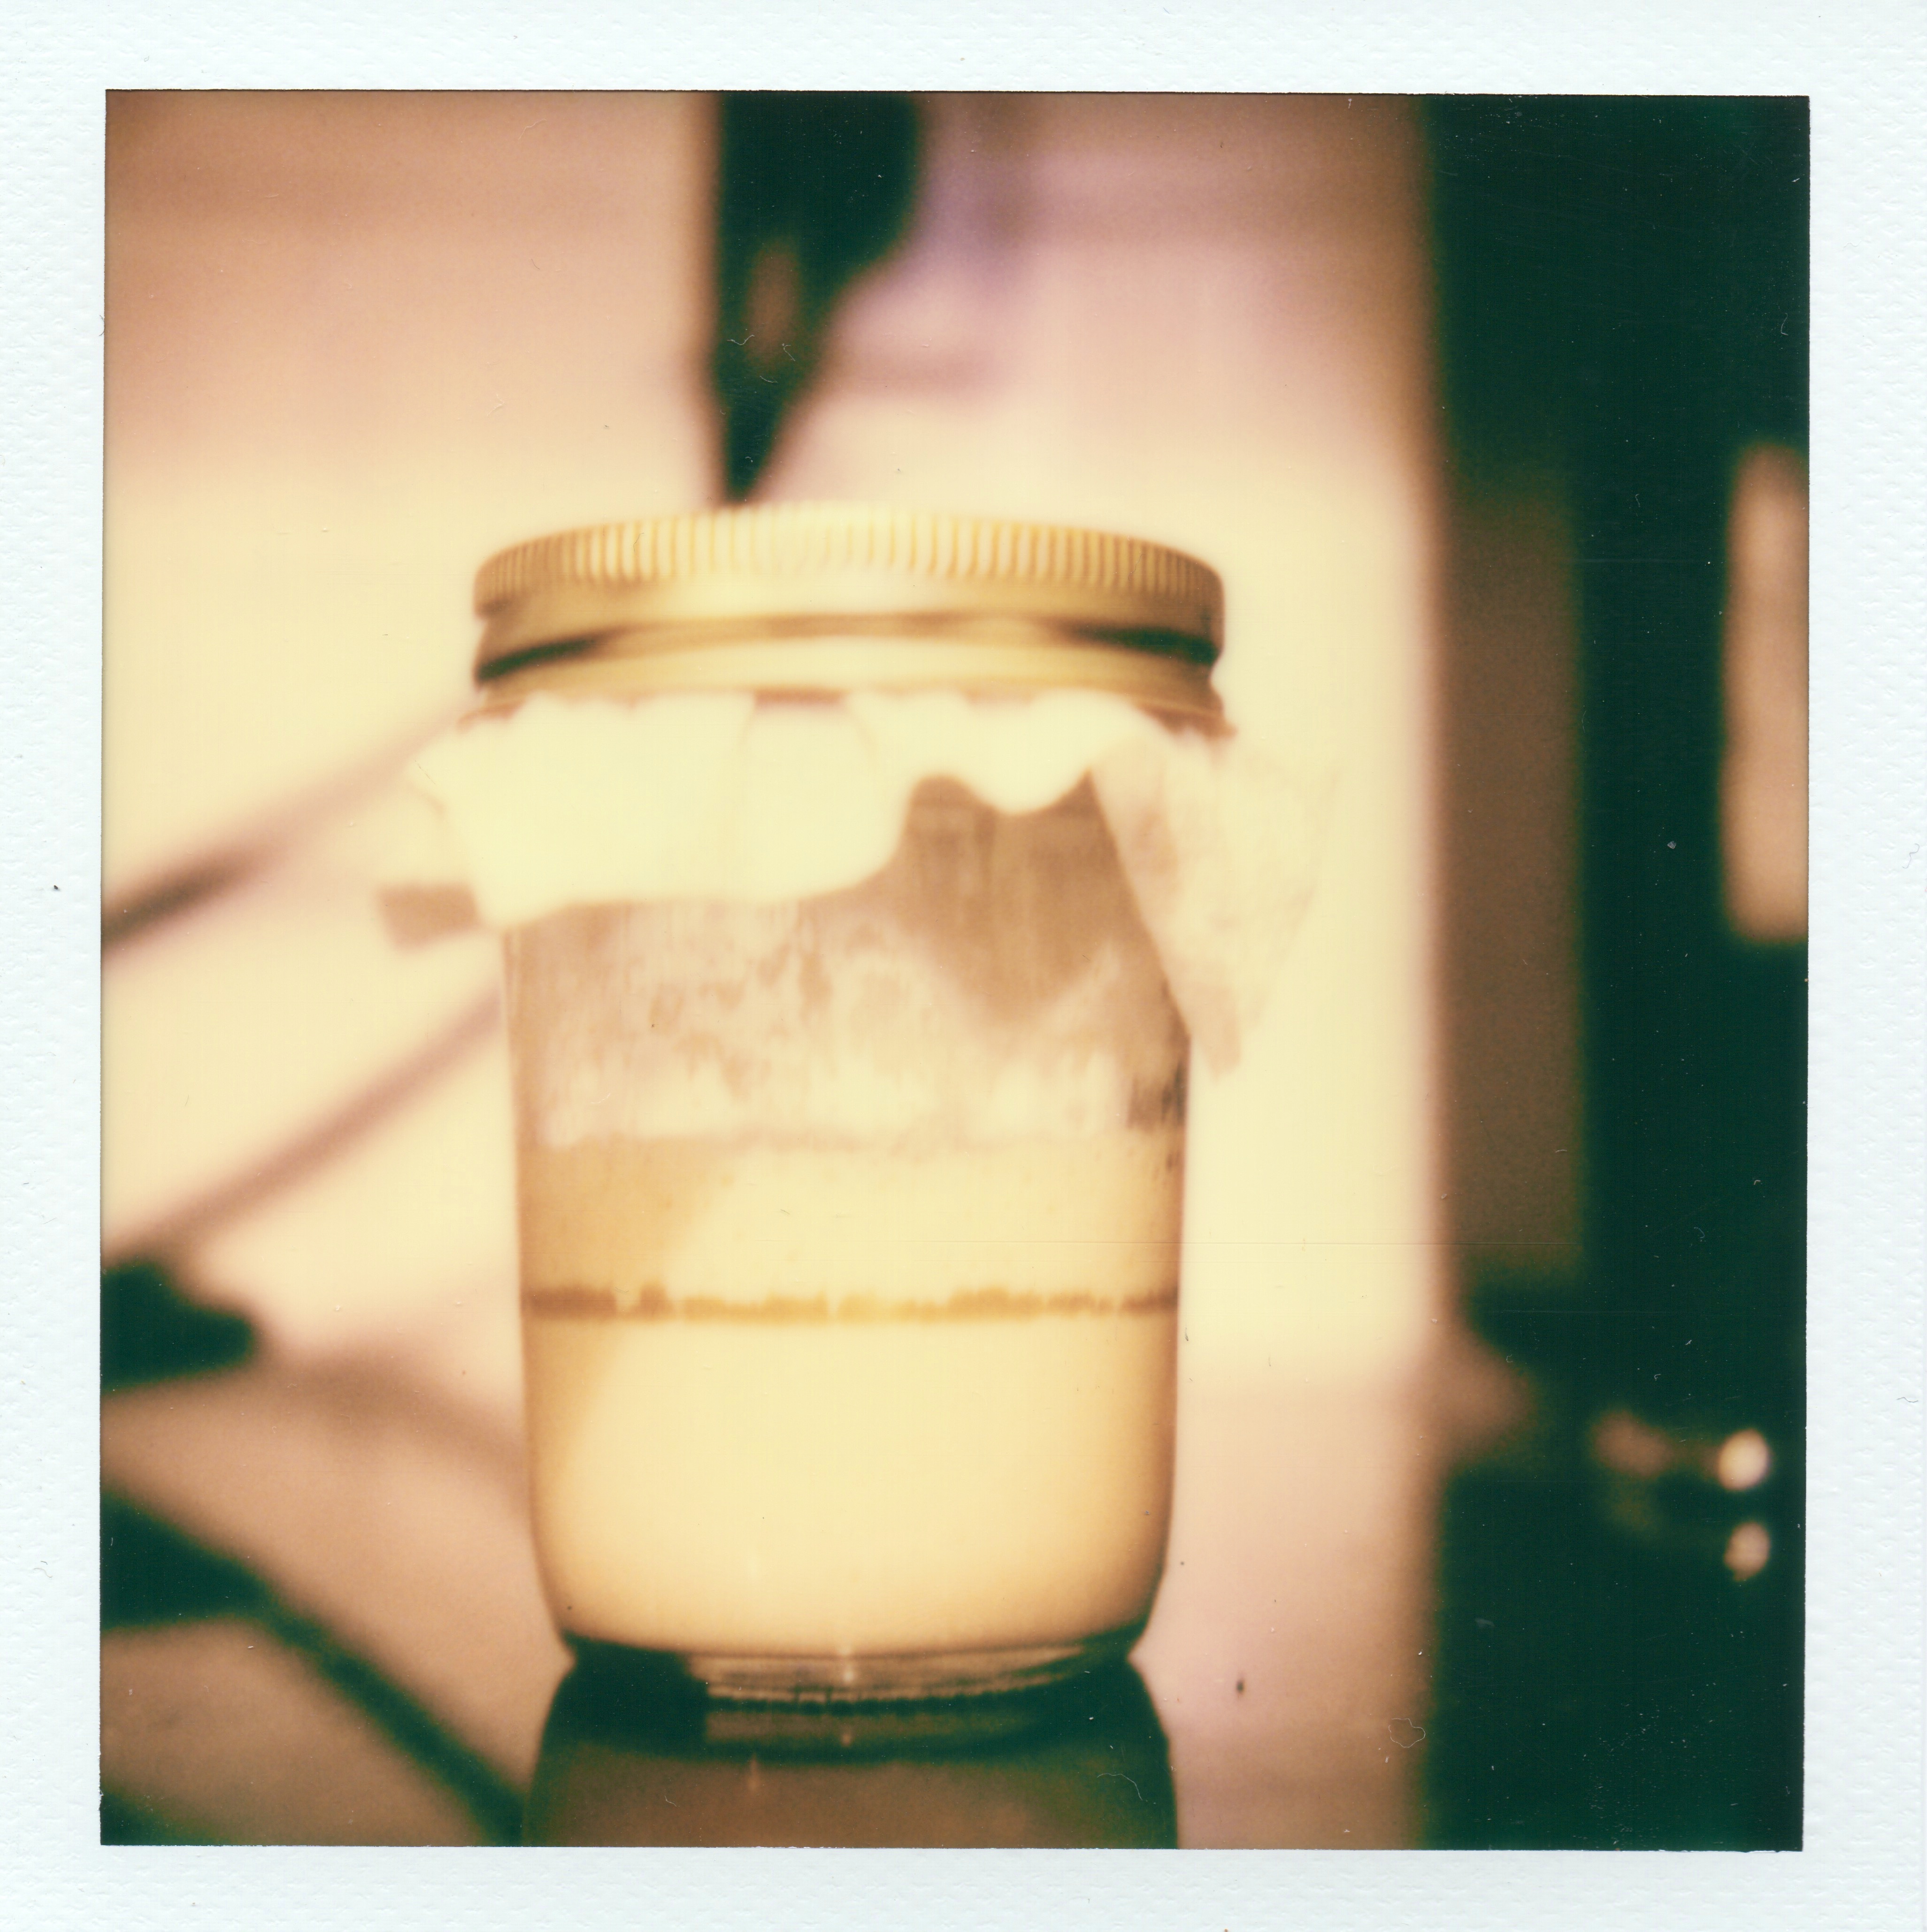
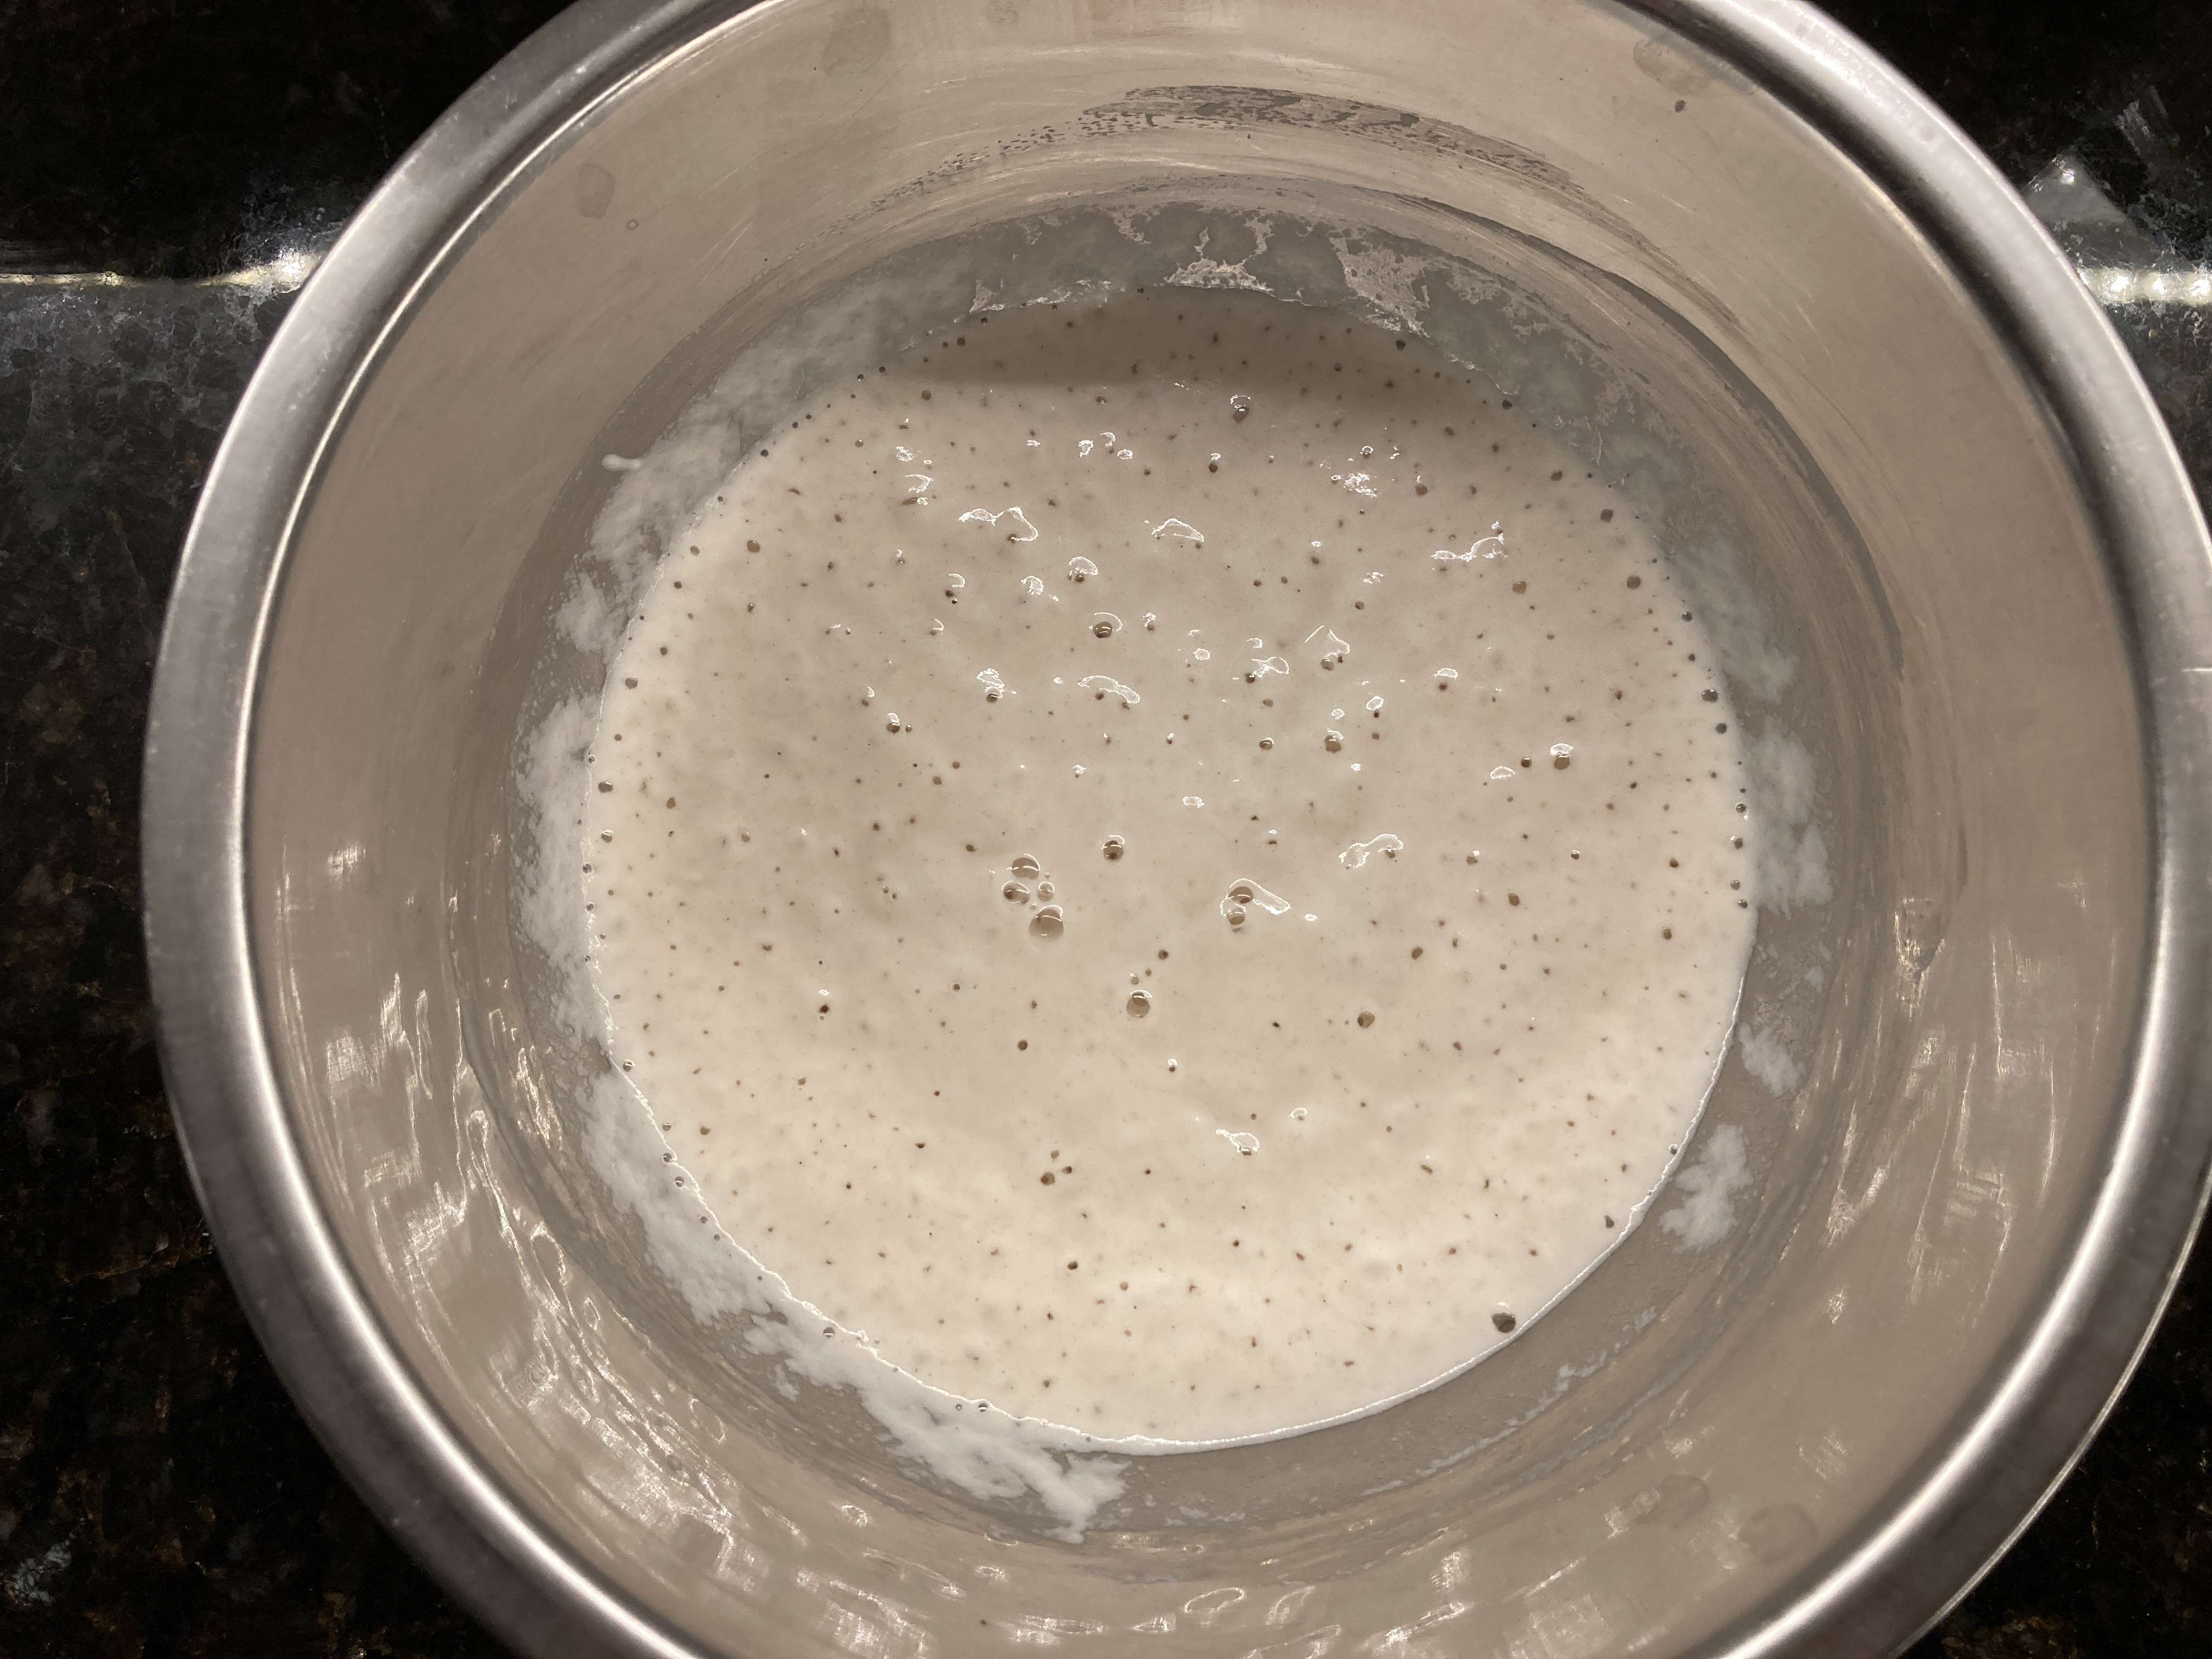
On day 4 there was clearly some fermentation happening. The smell was somewhere between rotting fruit and cheese. It reminded me a little of grog. At this point, I started ritual of daily feedings where I’d discard all but two tablespoons of the goo, and then add 2 tablespoons of flour and 2 tablespoons of water.
By day 7 the fermentation began to show a predictable cycle of activity (ripe) and calmness (mature). It peaked in activity around 8-9 hours after feeding, where it would almost double in volume, and then settle down to very little activity by the 12th hour, and completely inactive at the 24th hour when I would feed it again.
I was pretty confident that I had captured some yeast and started colony. The question was whether this “starter” would be suitable at all for baking. The smell was definitely on the funky side, resembling a very sharp parmesan cheese. Everything it touched ended up smelling like cheese for a few hours.
I did not have the forethought to document the process in pictures, but, hey, I was too busy being in the moment, right? So there.
Vodka flavored yoghurt⌗
As the daily feedings progressed, the yeast culture changed over time. Not surprising, as this is expected–what happens is that all the microorganisms that started to grow would come to some kind of balance, with many some becoming dominant and others simply getting subsumed. I think the process was reflected with the change in smell over time:
- overripe fruit
- buttermilk
- sharp cheese
- sour
- cream cheese
- vodka flavored yoghurt
It eventually stabilized around Vodka flavored yoghurt where it has been for a year, occasionally flipping to cream cheese and back.
I got sourdough starter!⌗
After the yeast stabilized, the starter was simply a yeast starter. The bread made from it tasted somewhat bland, like the flavor of normal plain white bread. Before long, though, my dough started to have that distinct sourdough scent. I can only assume that my starter eventually was able to pick-up the lactobacillus bacteria from the wild in balance with the good yeast, essentially naturally developing into a sourdough starter. I imagine that this happened right between the sour stage and the vodka-flavored yoghurt stage.
100% Hydration, by weight⌗
At some point after the starter stabilized, I actually started to more accurately measure the amounts for feedings. For bread recipes, the ingredients are often expressed in terms of baker’s percentages. In order for me to work in that way, I had to normalize the way I was maintaining the starter so that it would be consistent with recipes that I was learning from. They all assumed that my starter would be at 100% hydration.
My measurements for the daily feeding were 30g each of mature starter, flour and water to maintain an even 100% hydration. I eventually reduced it to 15g each for the feeding to save on flour, and it has been fine. When I need more, I simply build out a levain a day before to the amount that I need.
You can use tablespoons instead of grams, but just know that your hydration levels will not be accurate and you’ll have to adjust all of your baker’s percentages to match. If you want to be more accurate with your measurements for cooking and baking in general, consider switching from using volume measurements for everything (like tablespoons and cups) to using grams for dry goods and liters for liquids. Your results will be more consistent!
Building a levain⌗
The best time to use the yeast starter is when it is ripe, just after it has peaked in activity after feeding. So if I know I’ll be baking, I won’t discard any starter the night before when feeding and simply use the whole 45g of starter and add 45g of flour and 45g of water. In the morning I have enough ripe starter for bread, with enough left over to put back in the jar for that evening’s feeding.
A year on…⌗
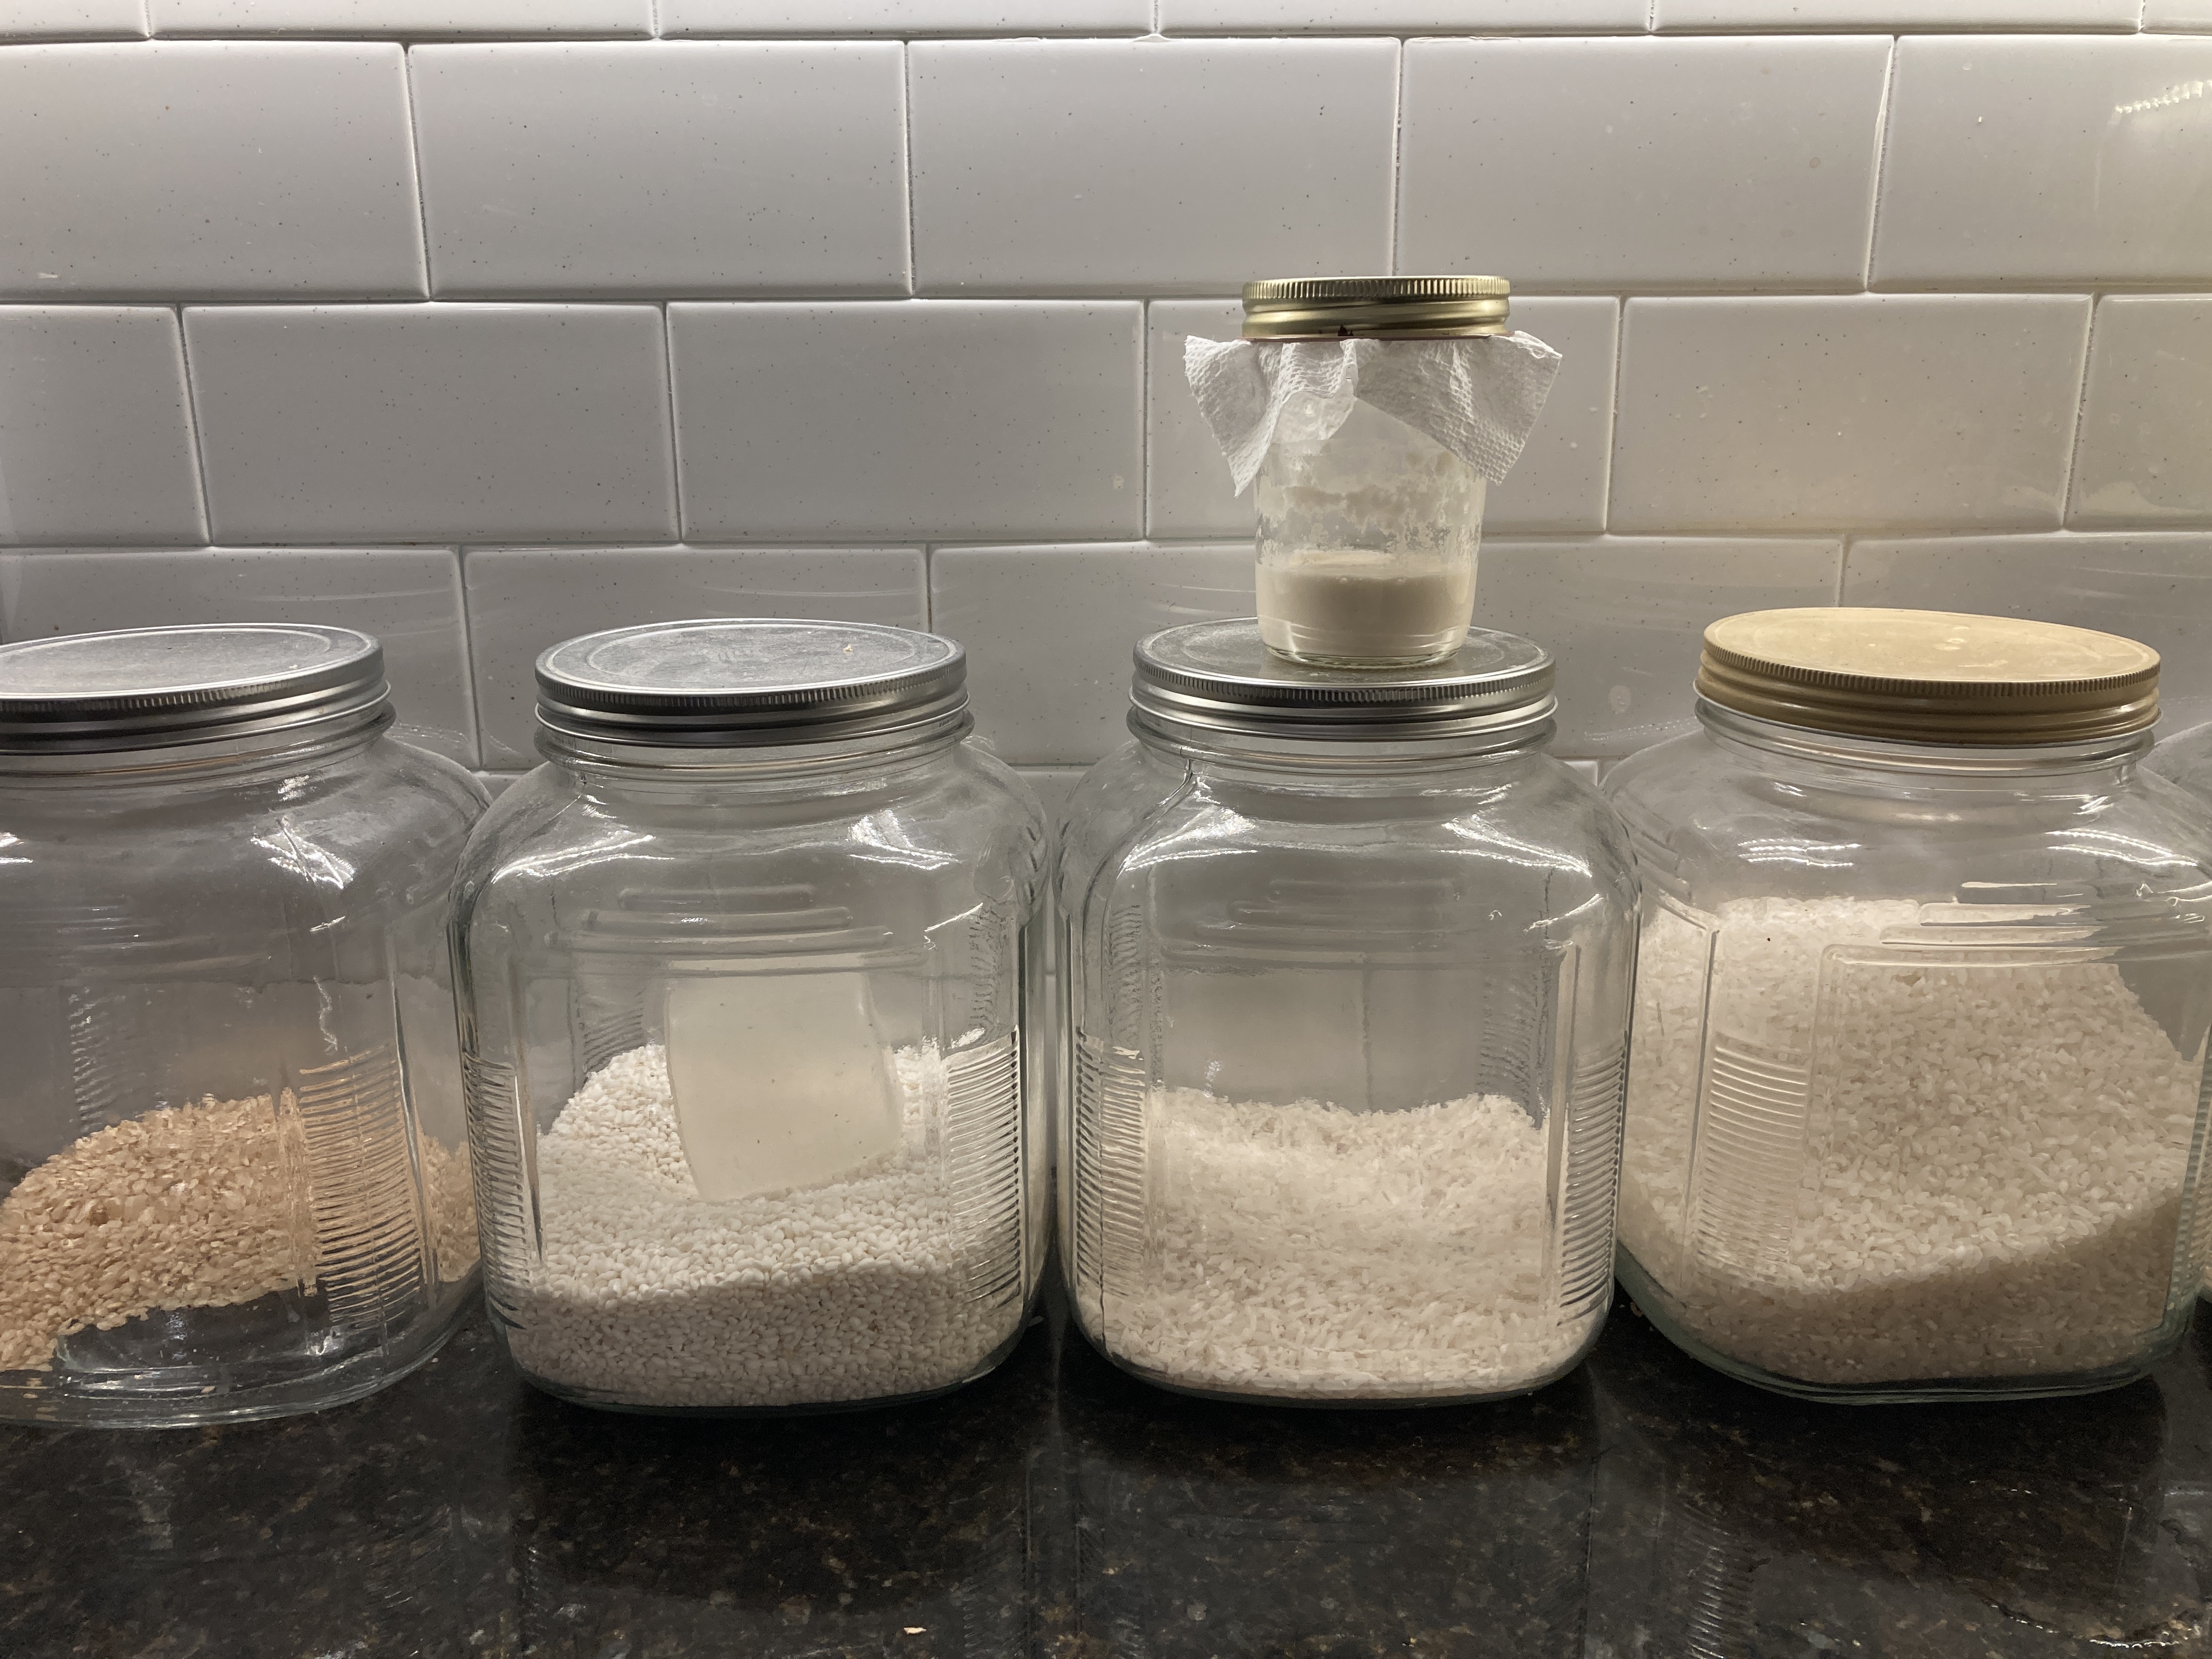
Above: My yeast lives above my canisters of rice on my counter
It’s been over a year since I started this adventure. I diligently feed the yeast every night before I go to bed. It has become part of my wind-down routine for the evening; an exercise in patience and discipline. The reward is that I get fresh, homemade baguettes, sourdough bread, bau, ciabatta, pizza, bialys, schwarzbrot, injera and flatbread when I want it. Along the way, I might even learn something, too :)
Oh, I’m a huge fan of the olde timey cracker jars from Anchor Hocking (#ad) in the picture above. The simple utilitarian design hasn’t changed for decades.
Here is a sample of the joy that my starter has given me over this past year:
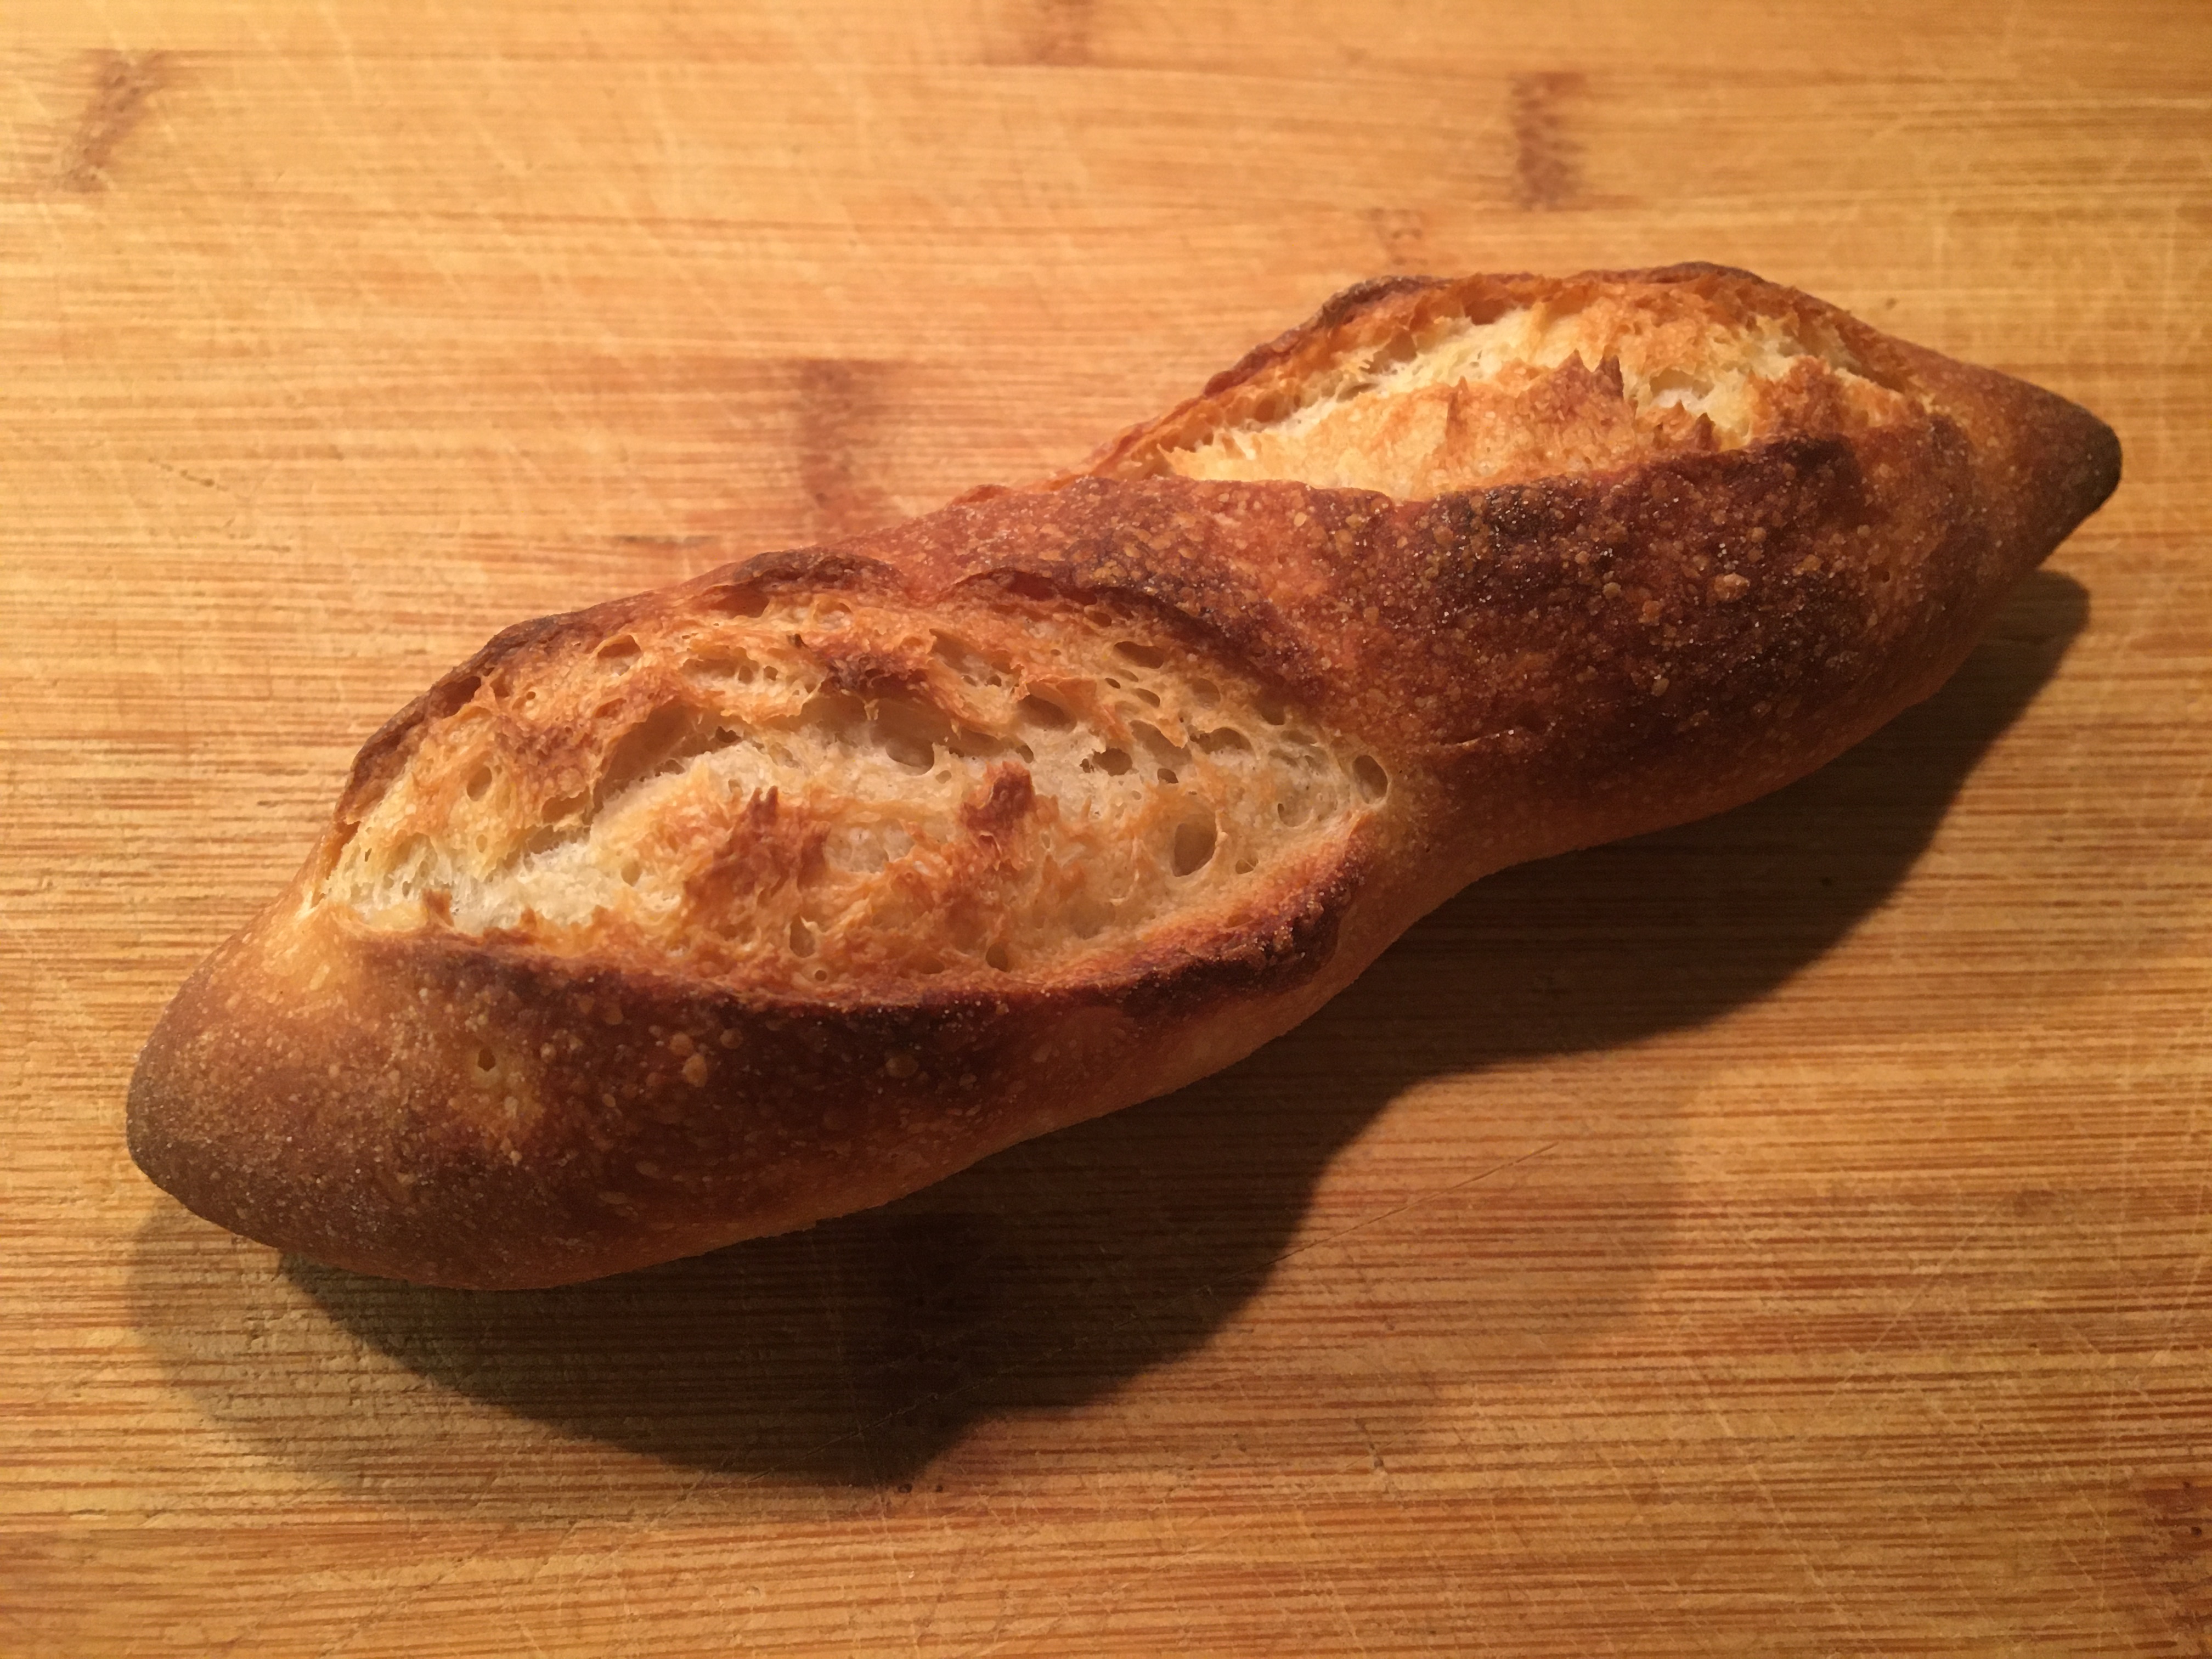
Above: One of my first goals was making demi-baguettes
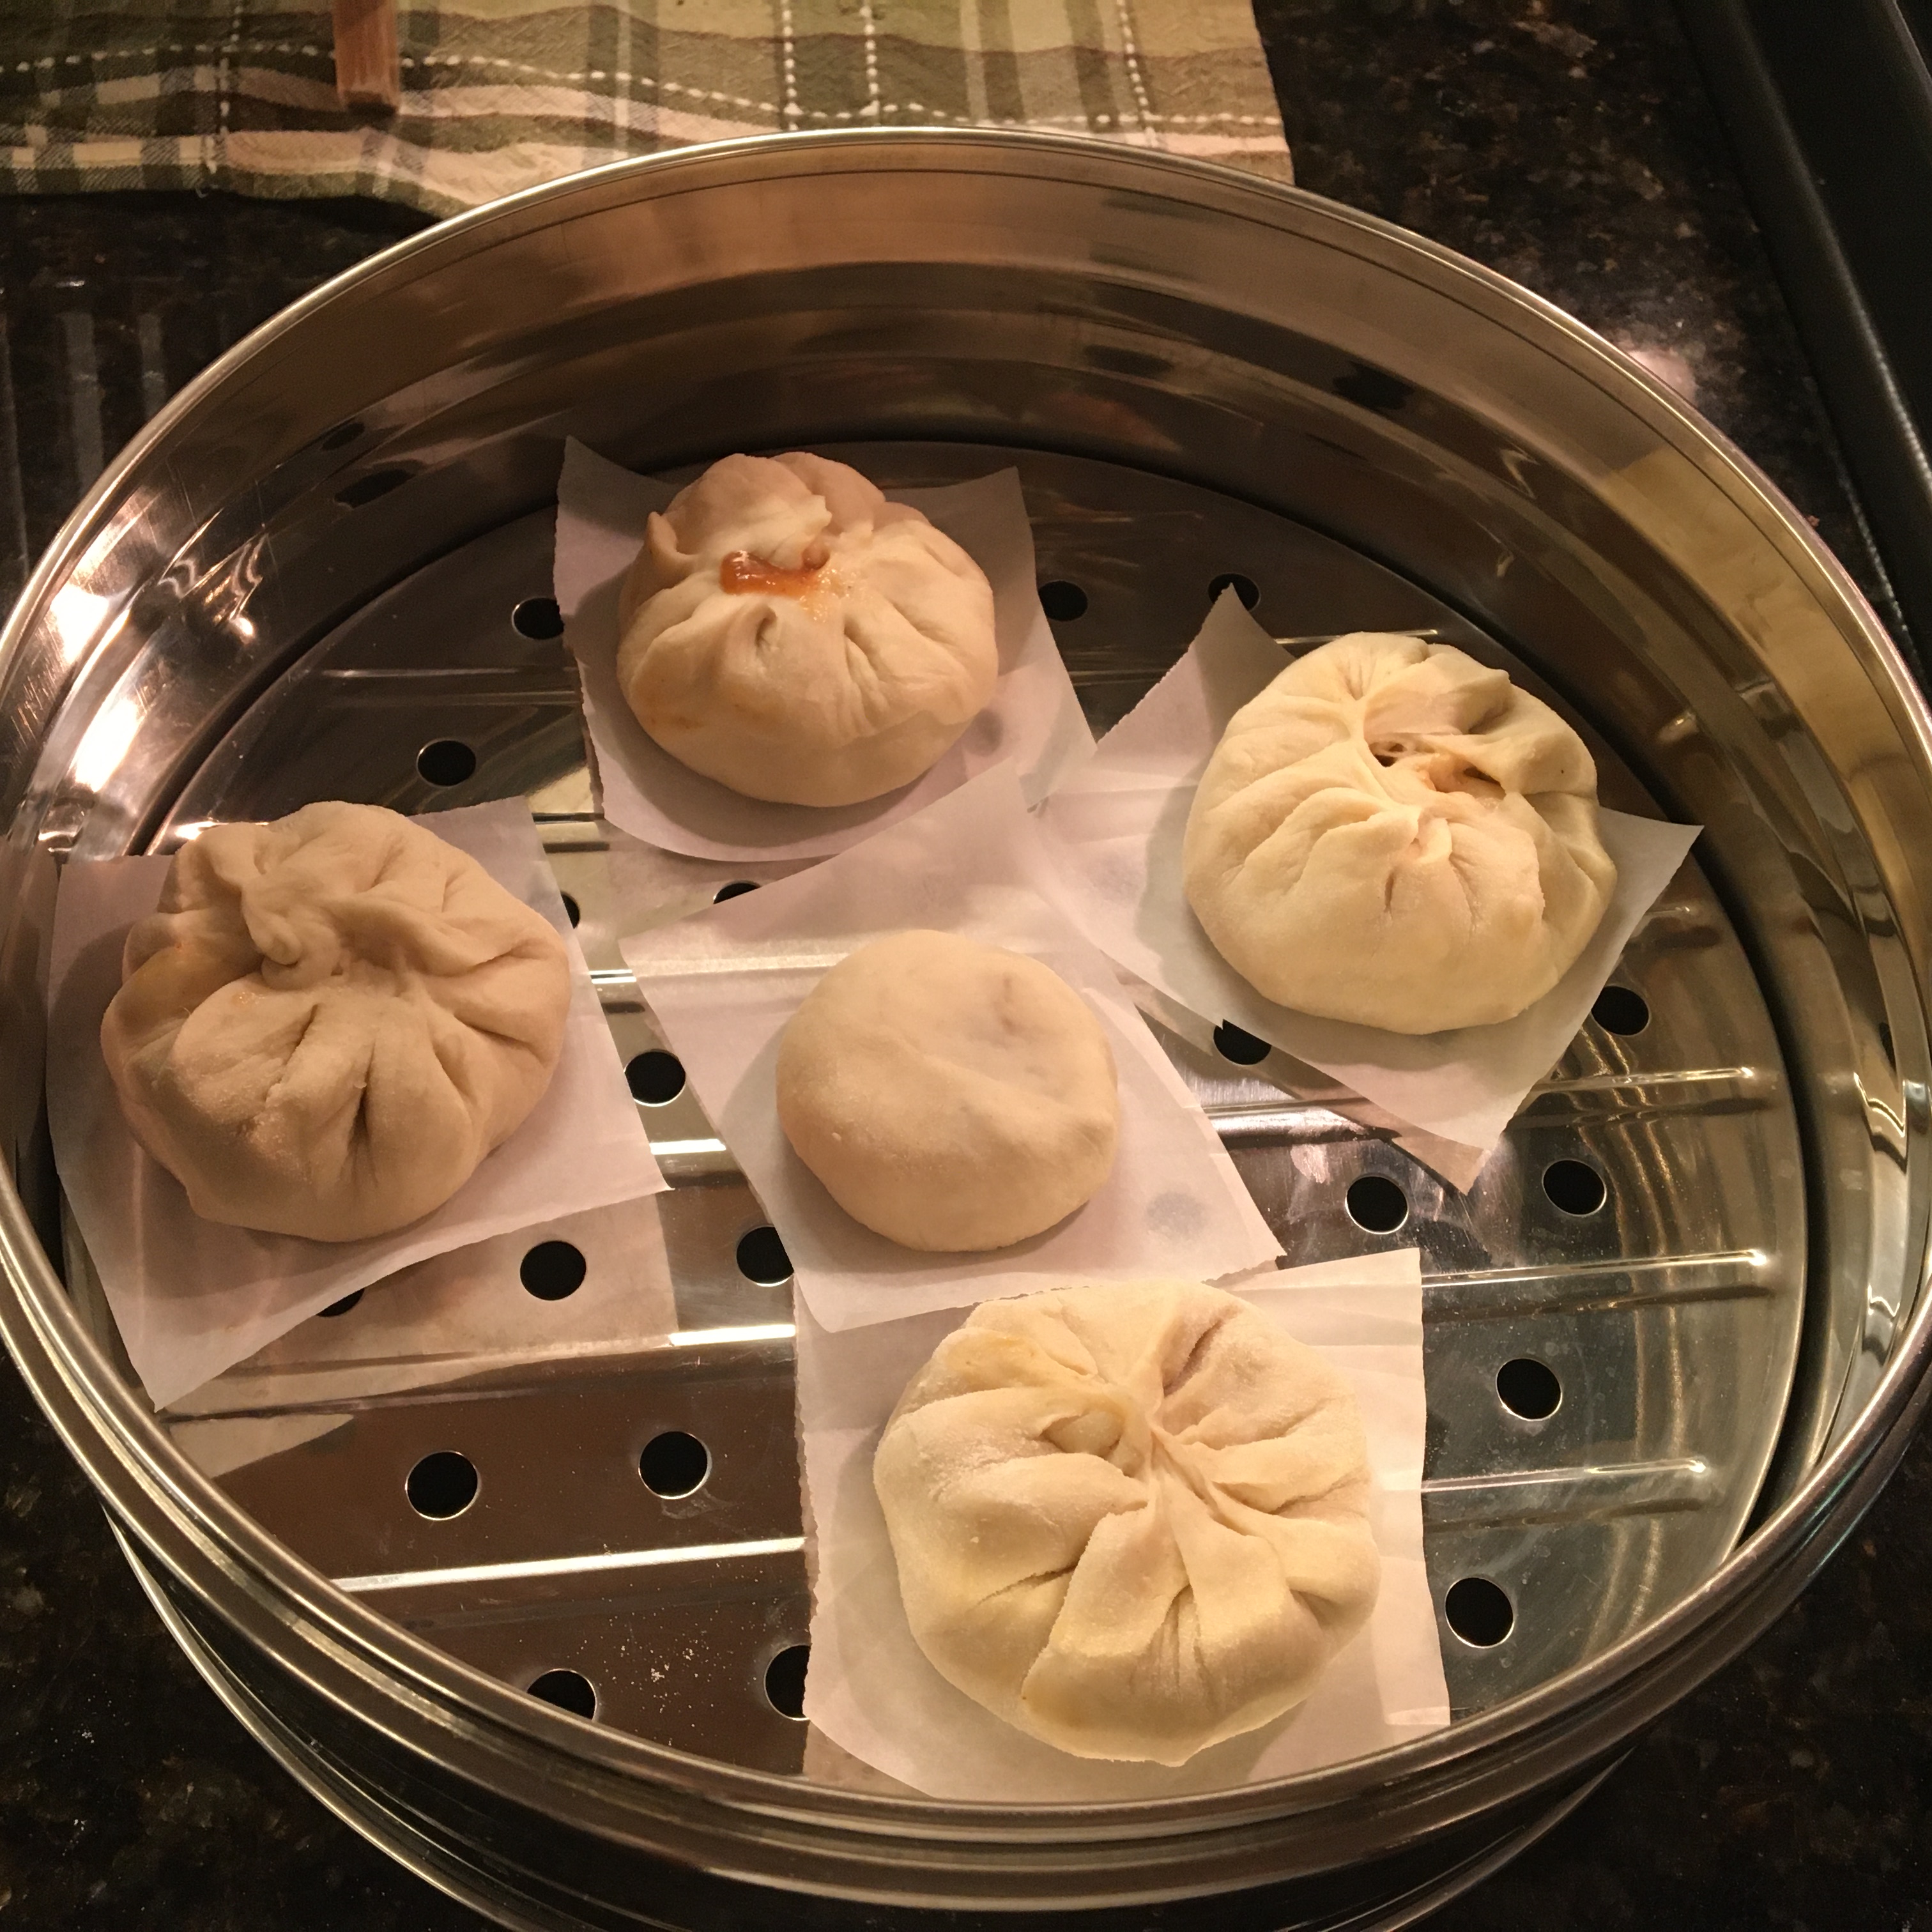
Above: Vegetarian char siu bau/叉燒包 was OBVIOUSLY next. Here they are about to be steamed. I generally prefer metal steamers (#ad) over bamboo ones.
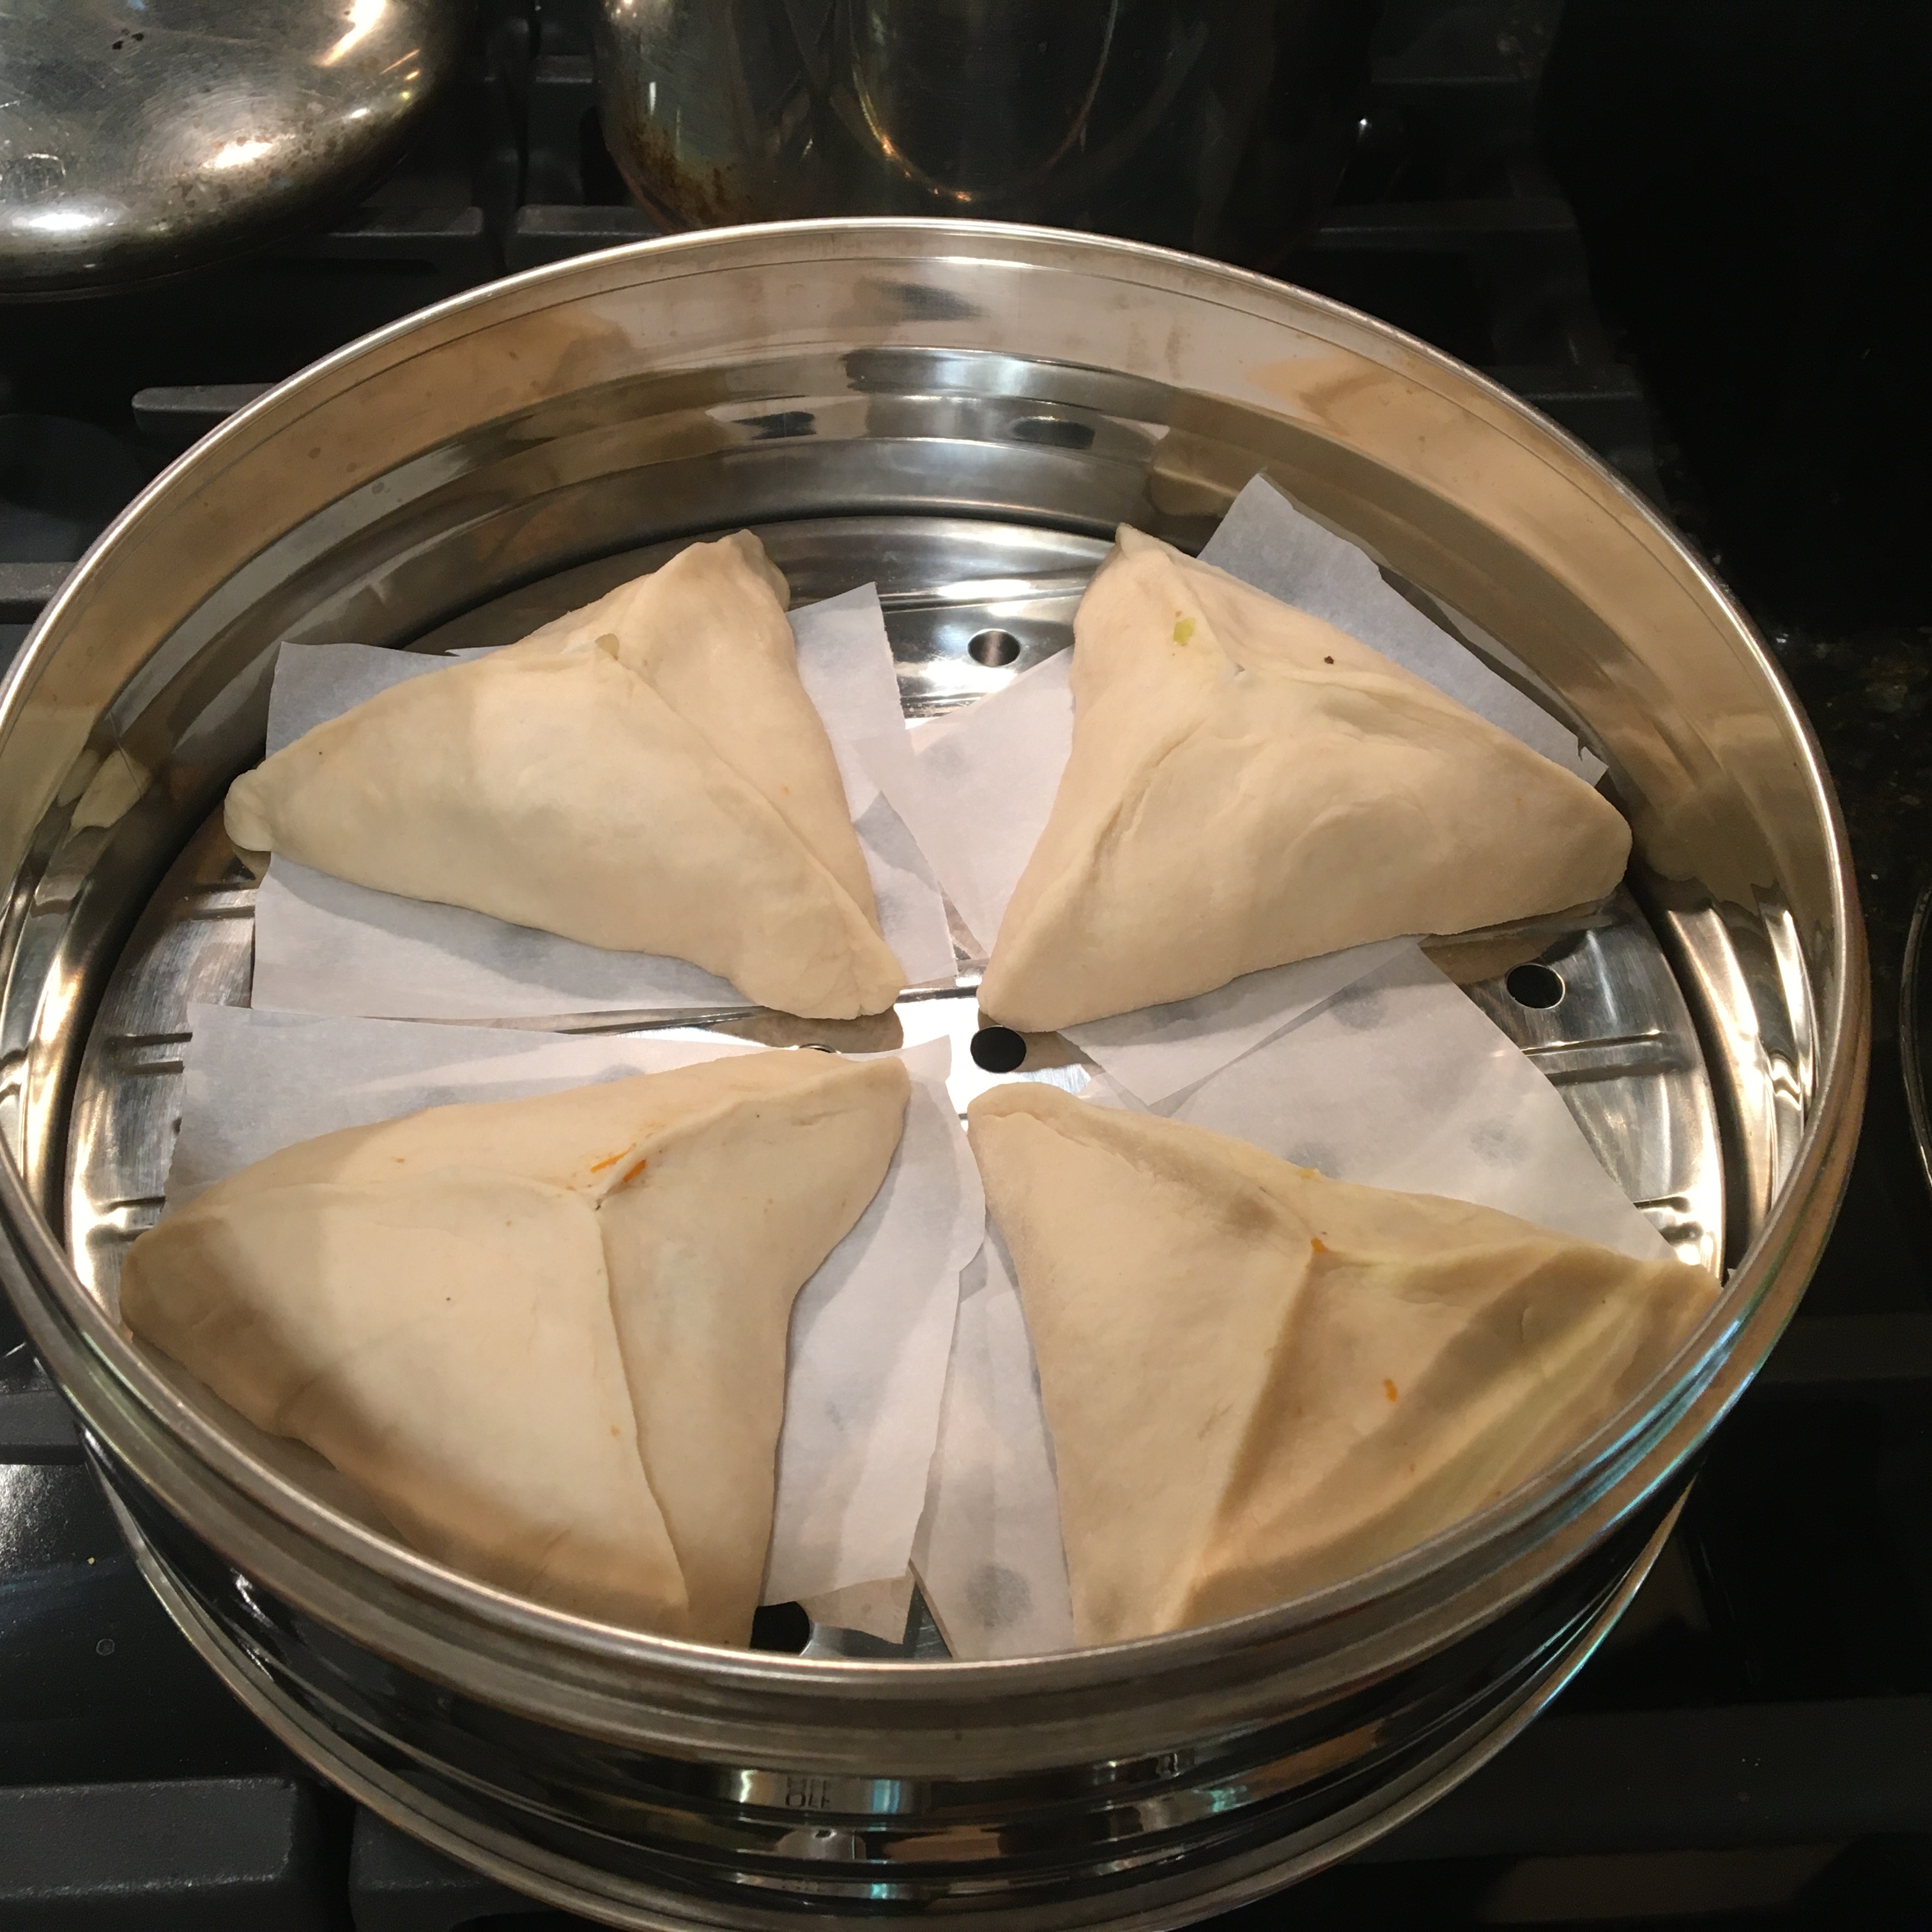
Above: Vegetable bau, ready to steam.
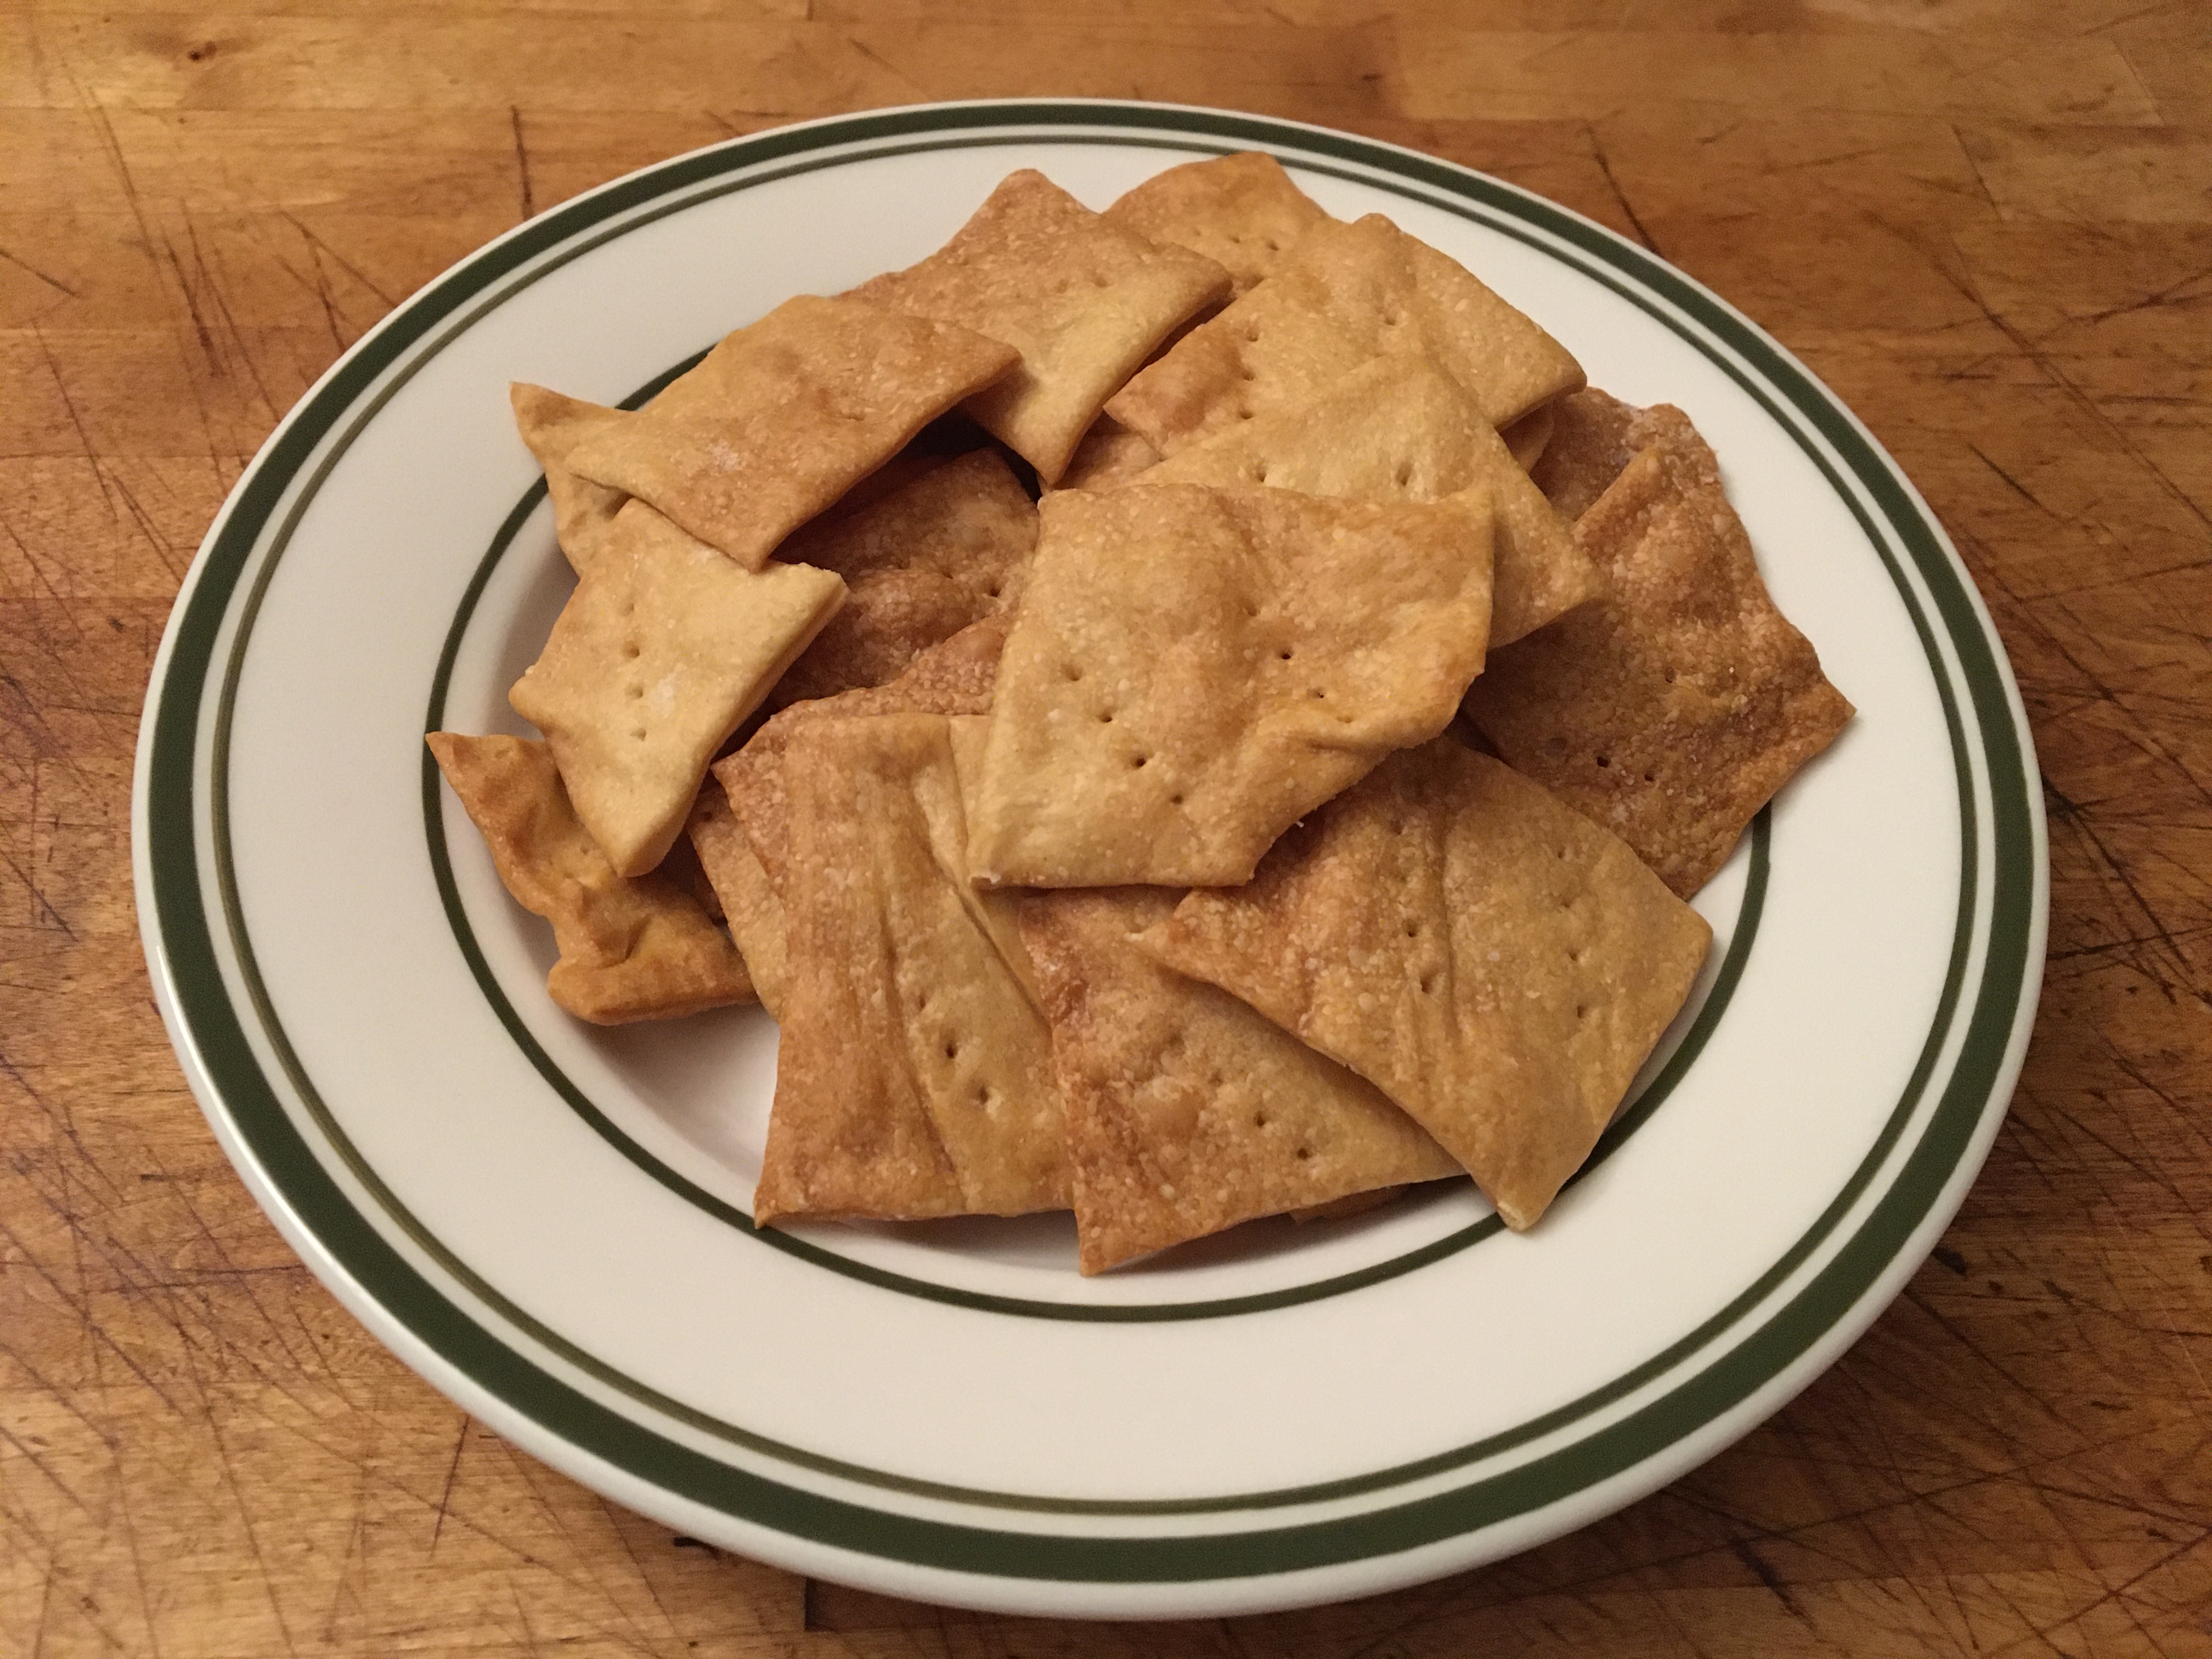
Above: I tried making crackers with the discard. They were good, but not terribly exiting
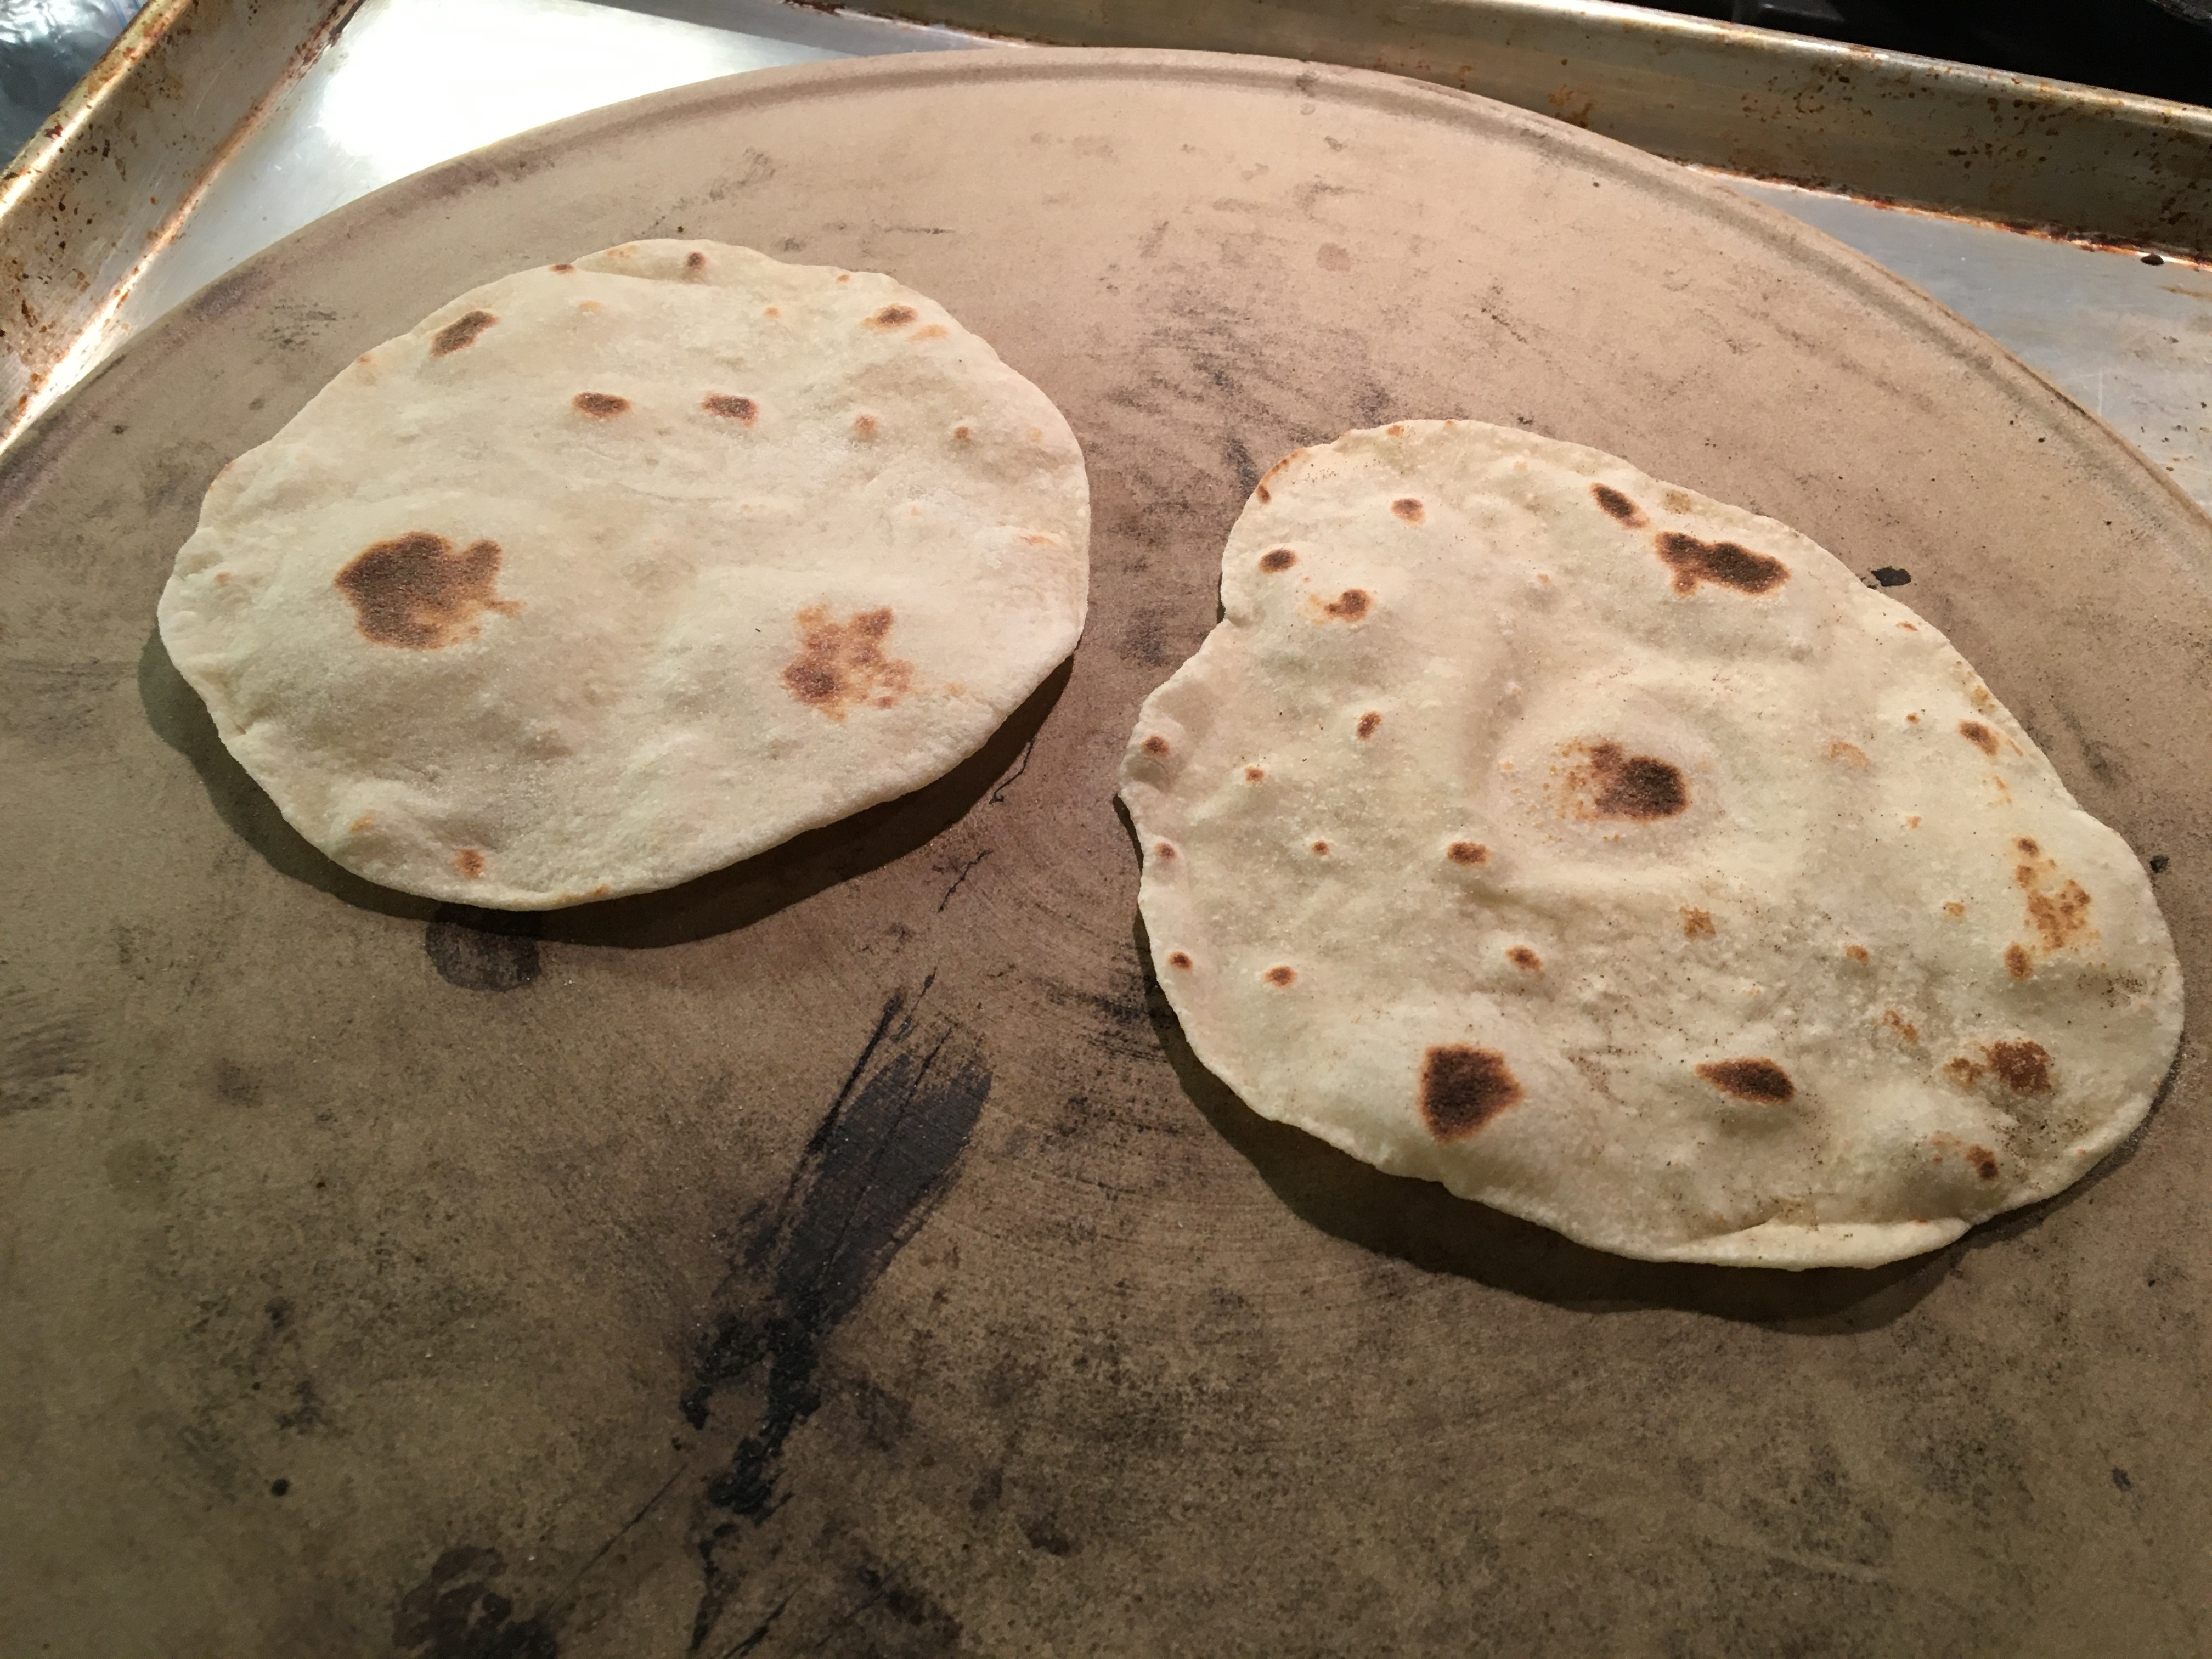
Above: I did make quite a lot of flatbread.
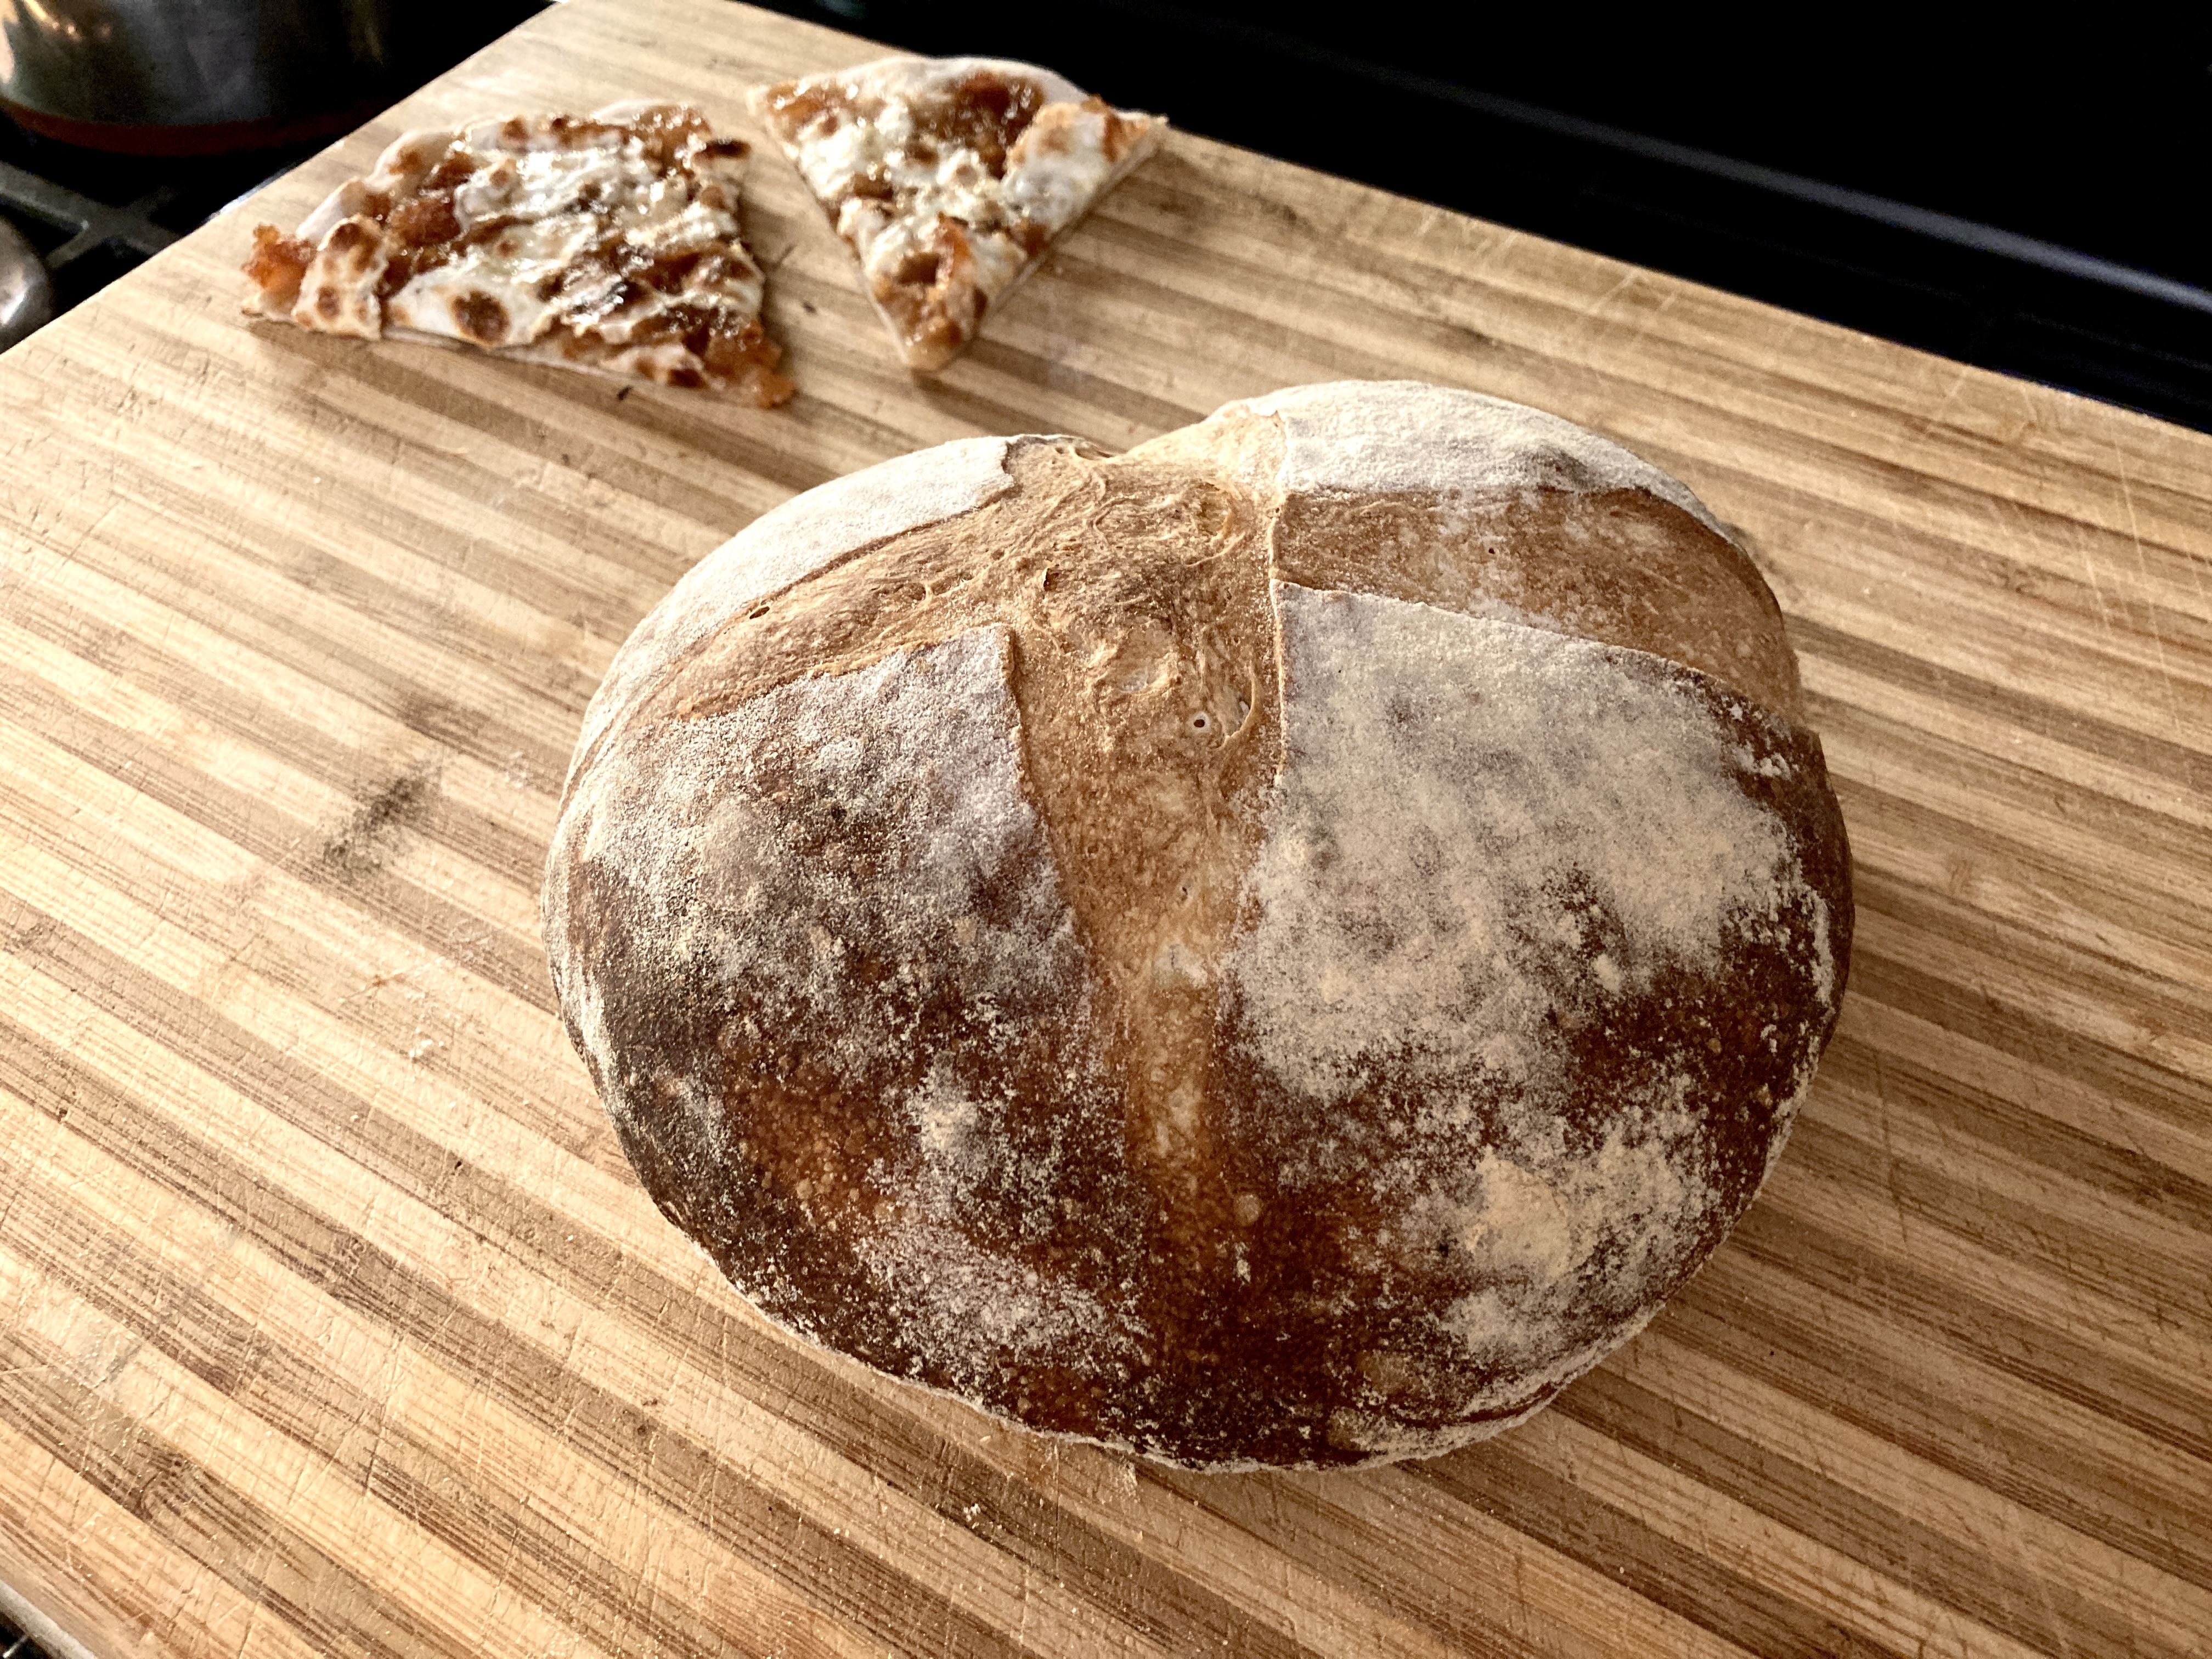
Above: Of course my journey would not have been complete wihtout the sourdough boule. Peeking in on the top left are a couple of slices of an apple and cheese dessert pizza.
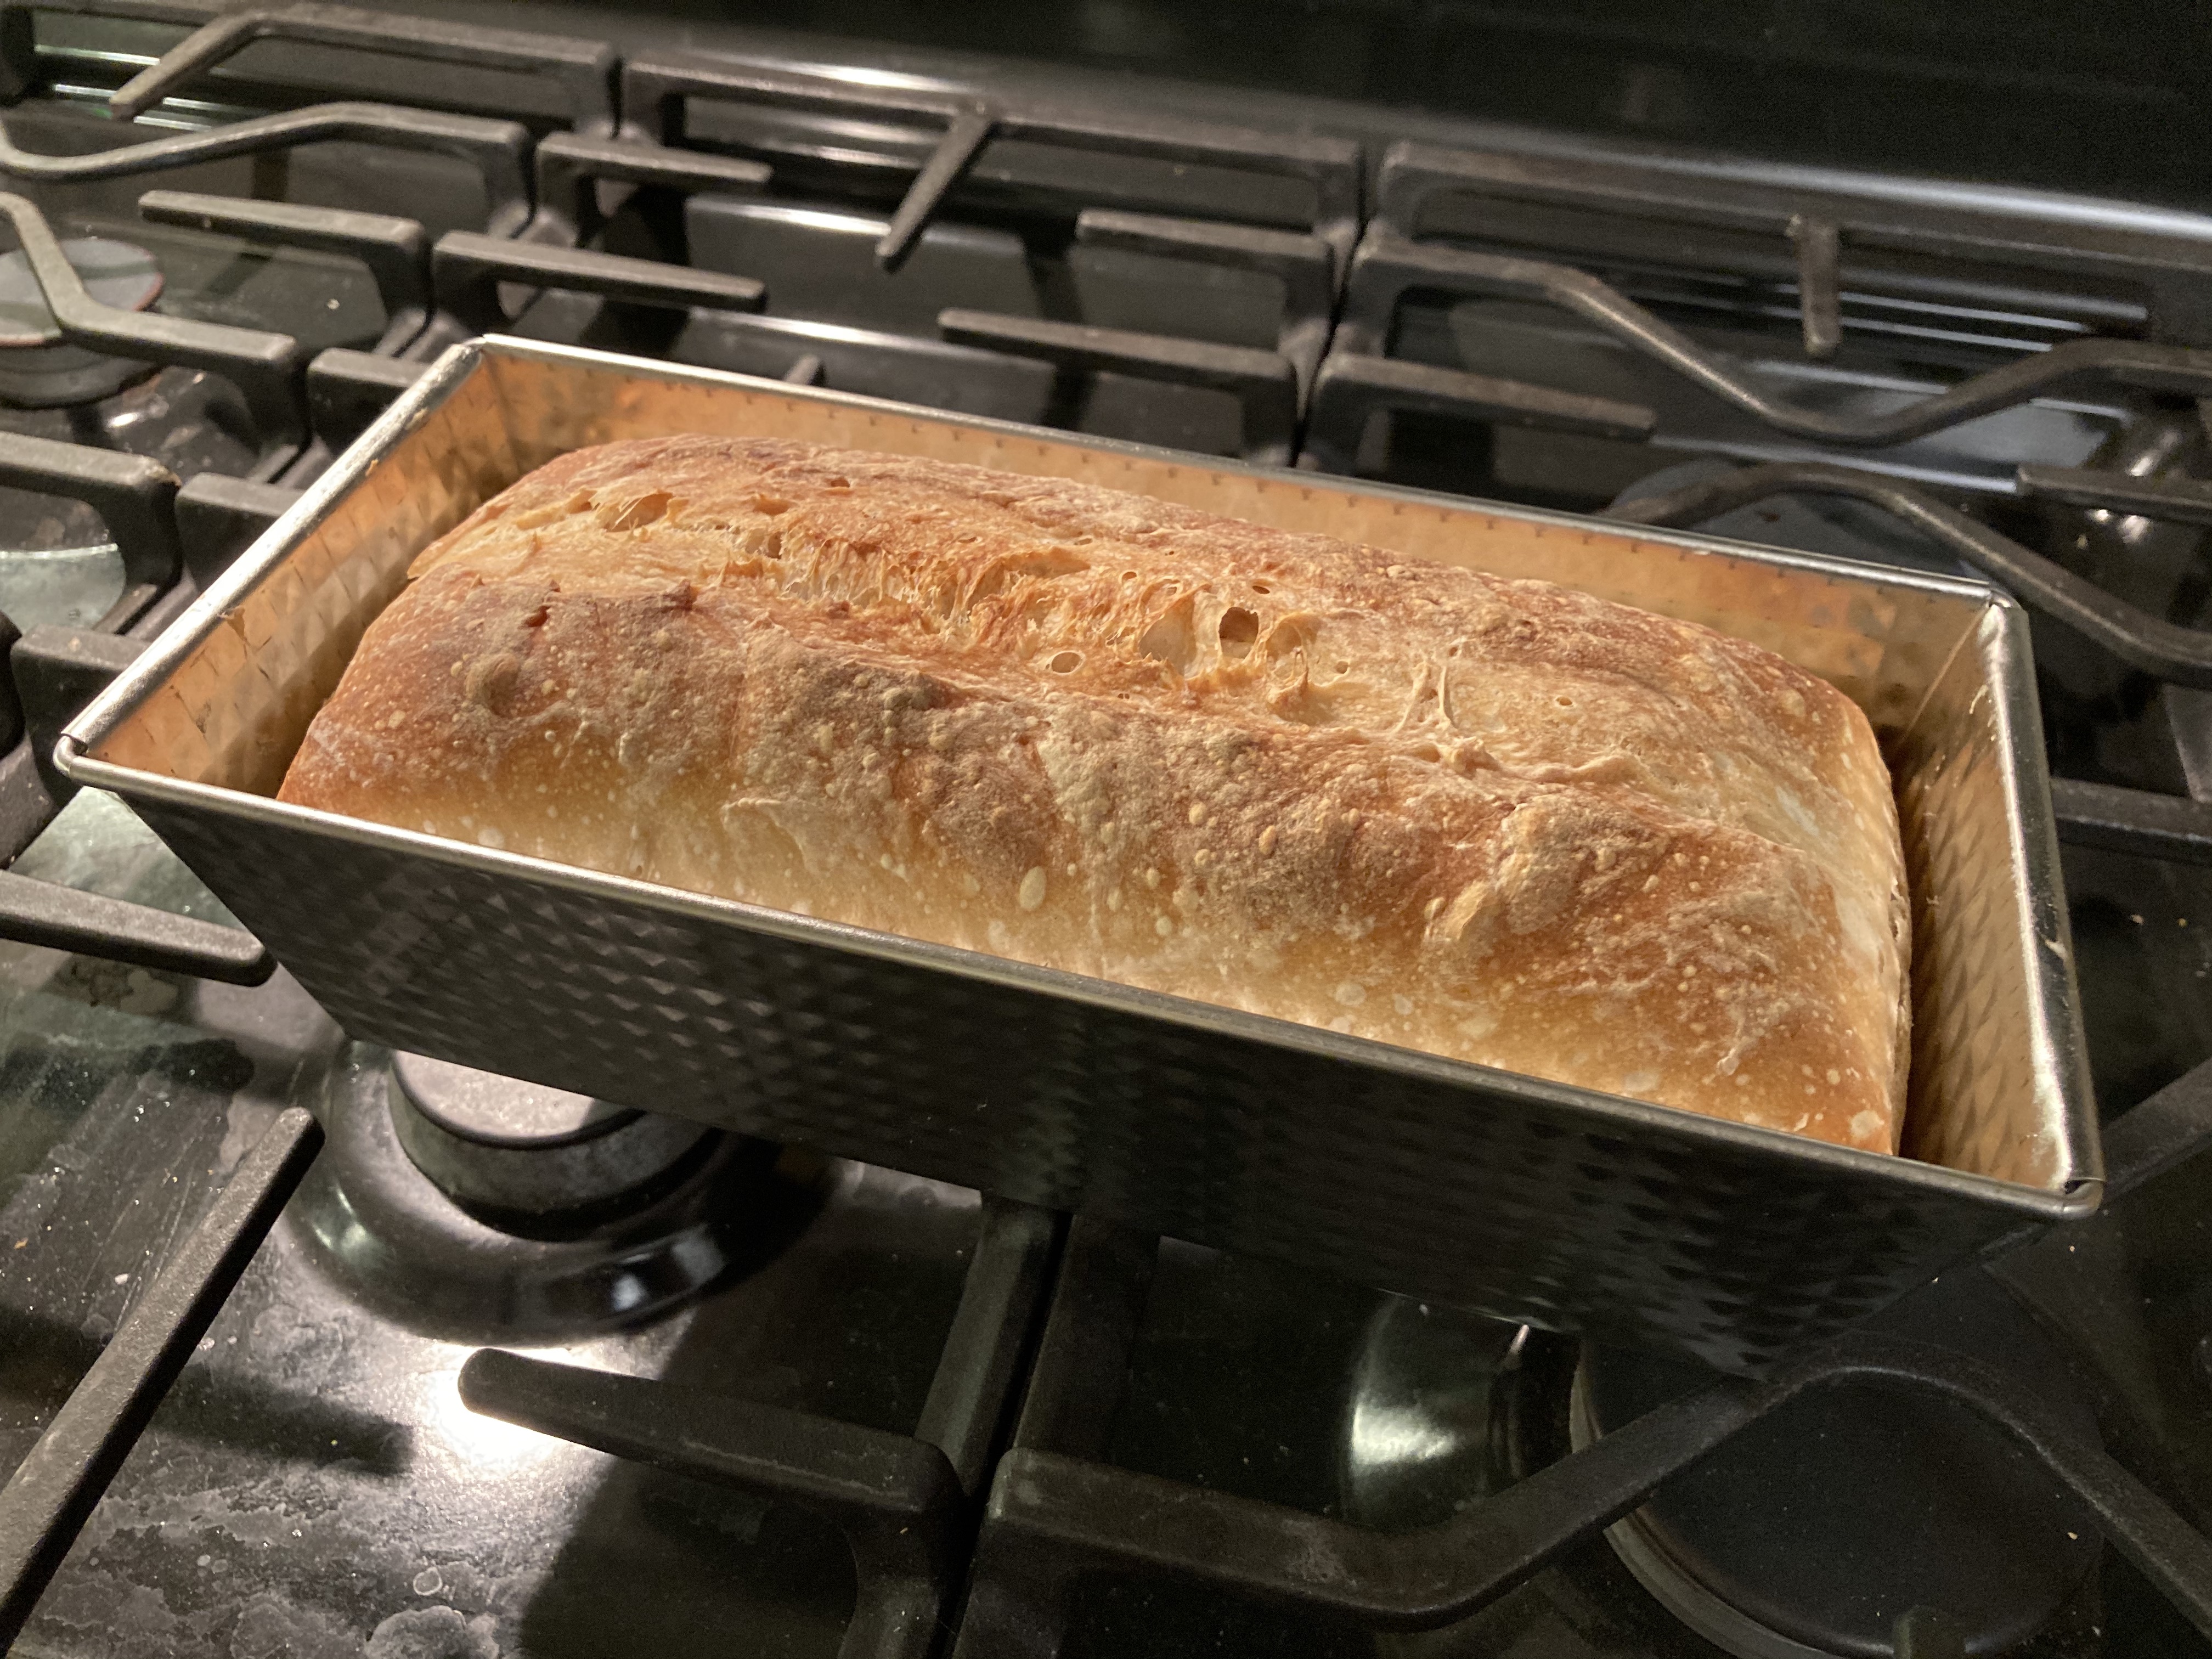
Above: I started to make sandwiches for lunch, so of course I had to make a sandwich bread loaf. I picked up a couple of traditional Zenker loaf pans (#ad) specifically for this.
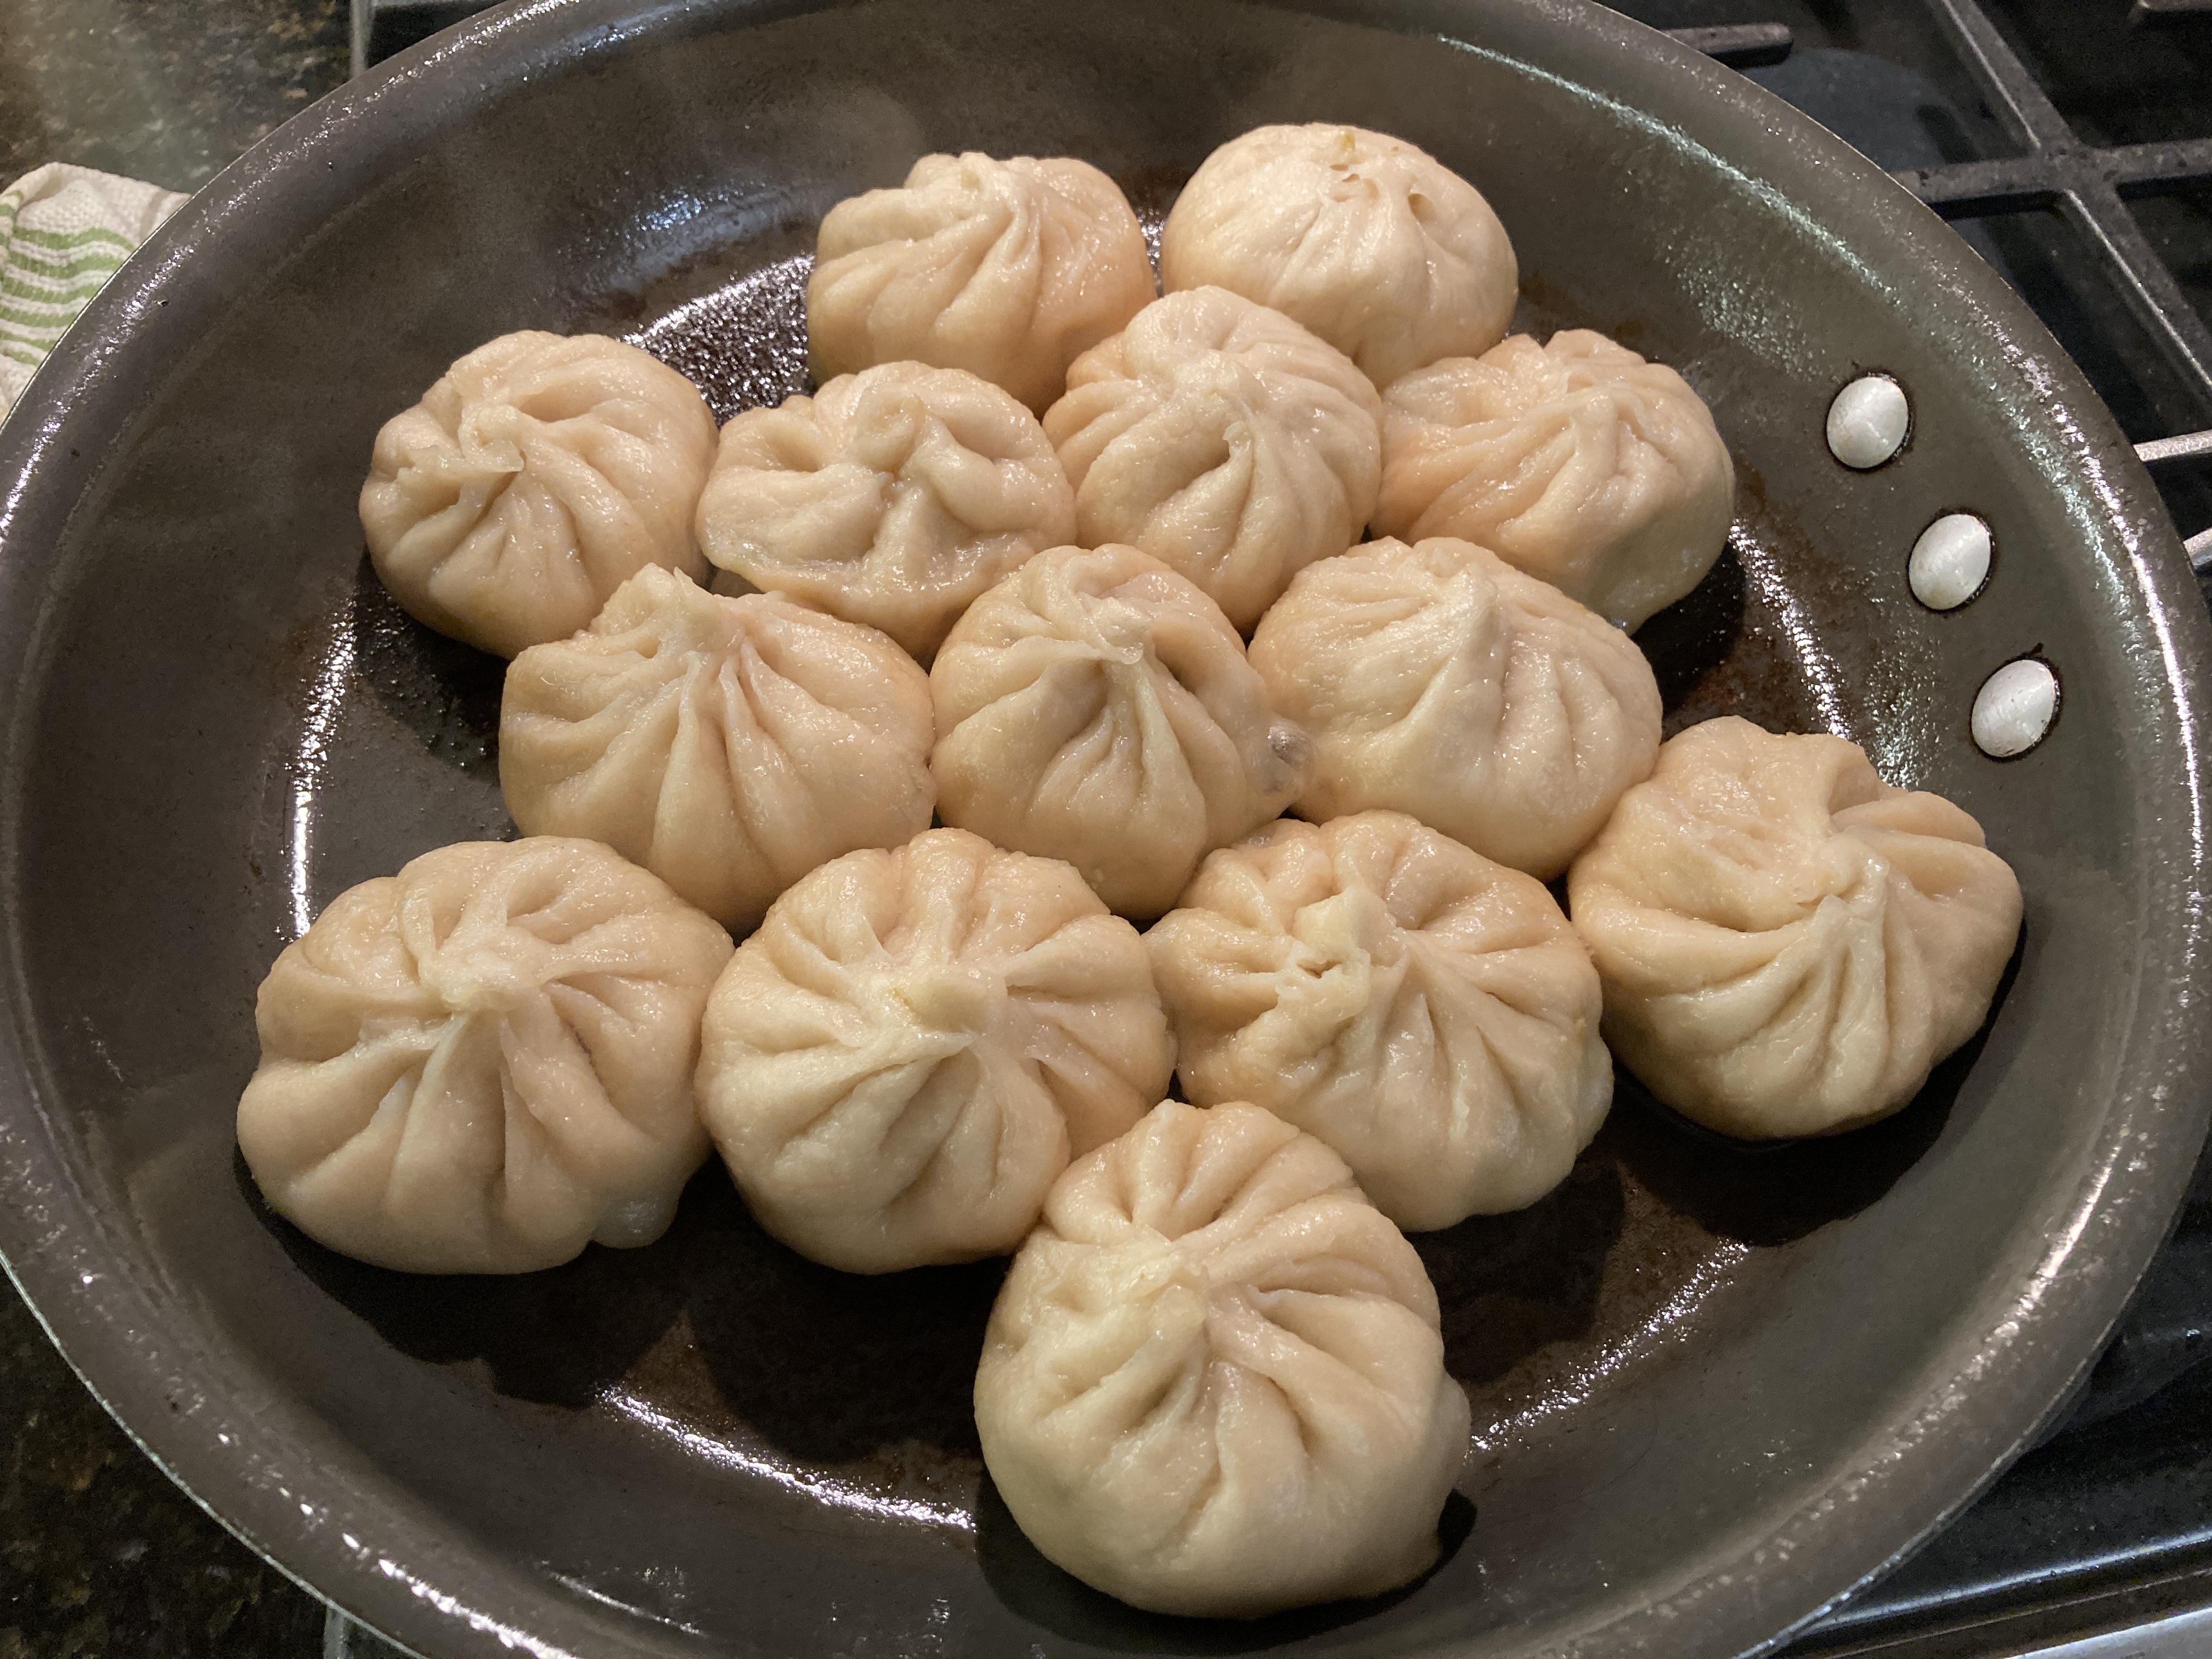
Above: I had a hankering for saang zin bau/生煎包 that I simply had to satisfy
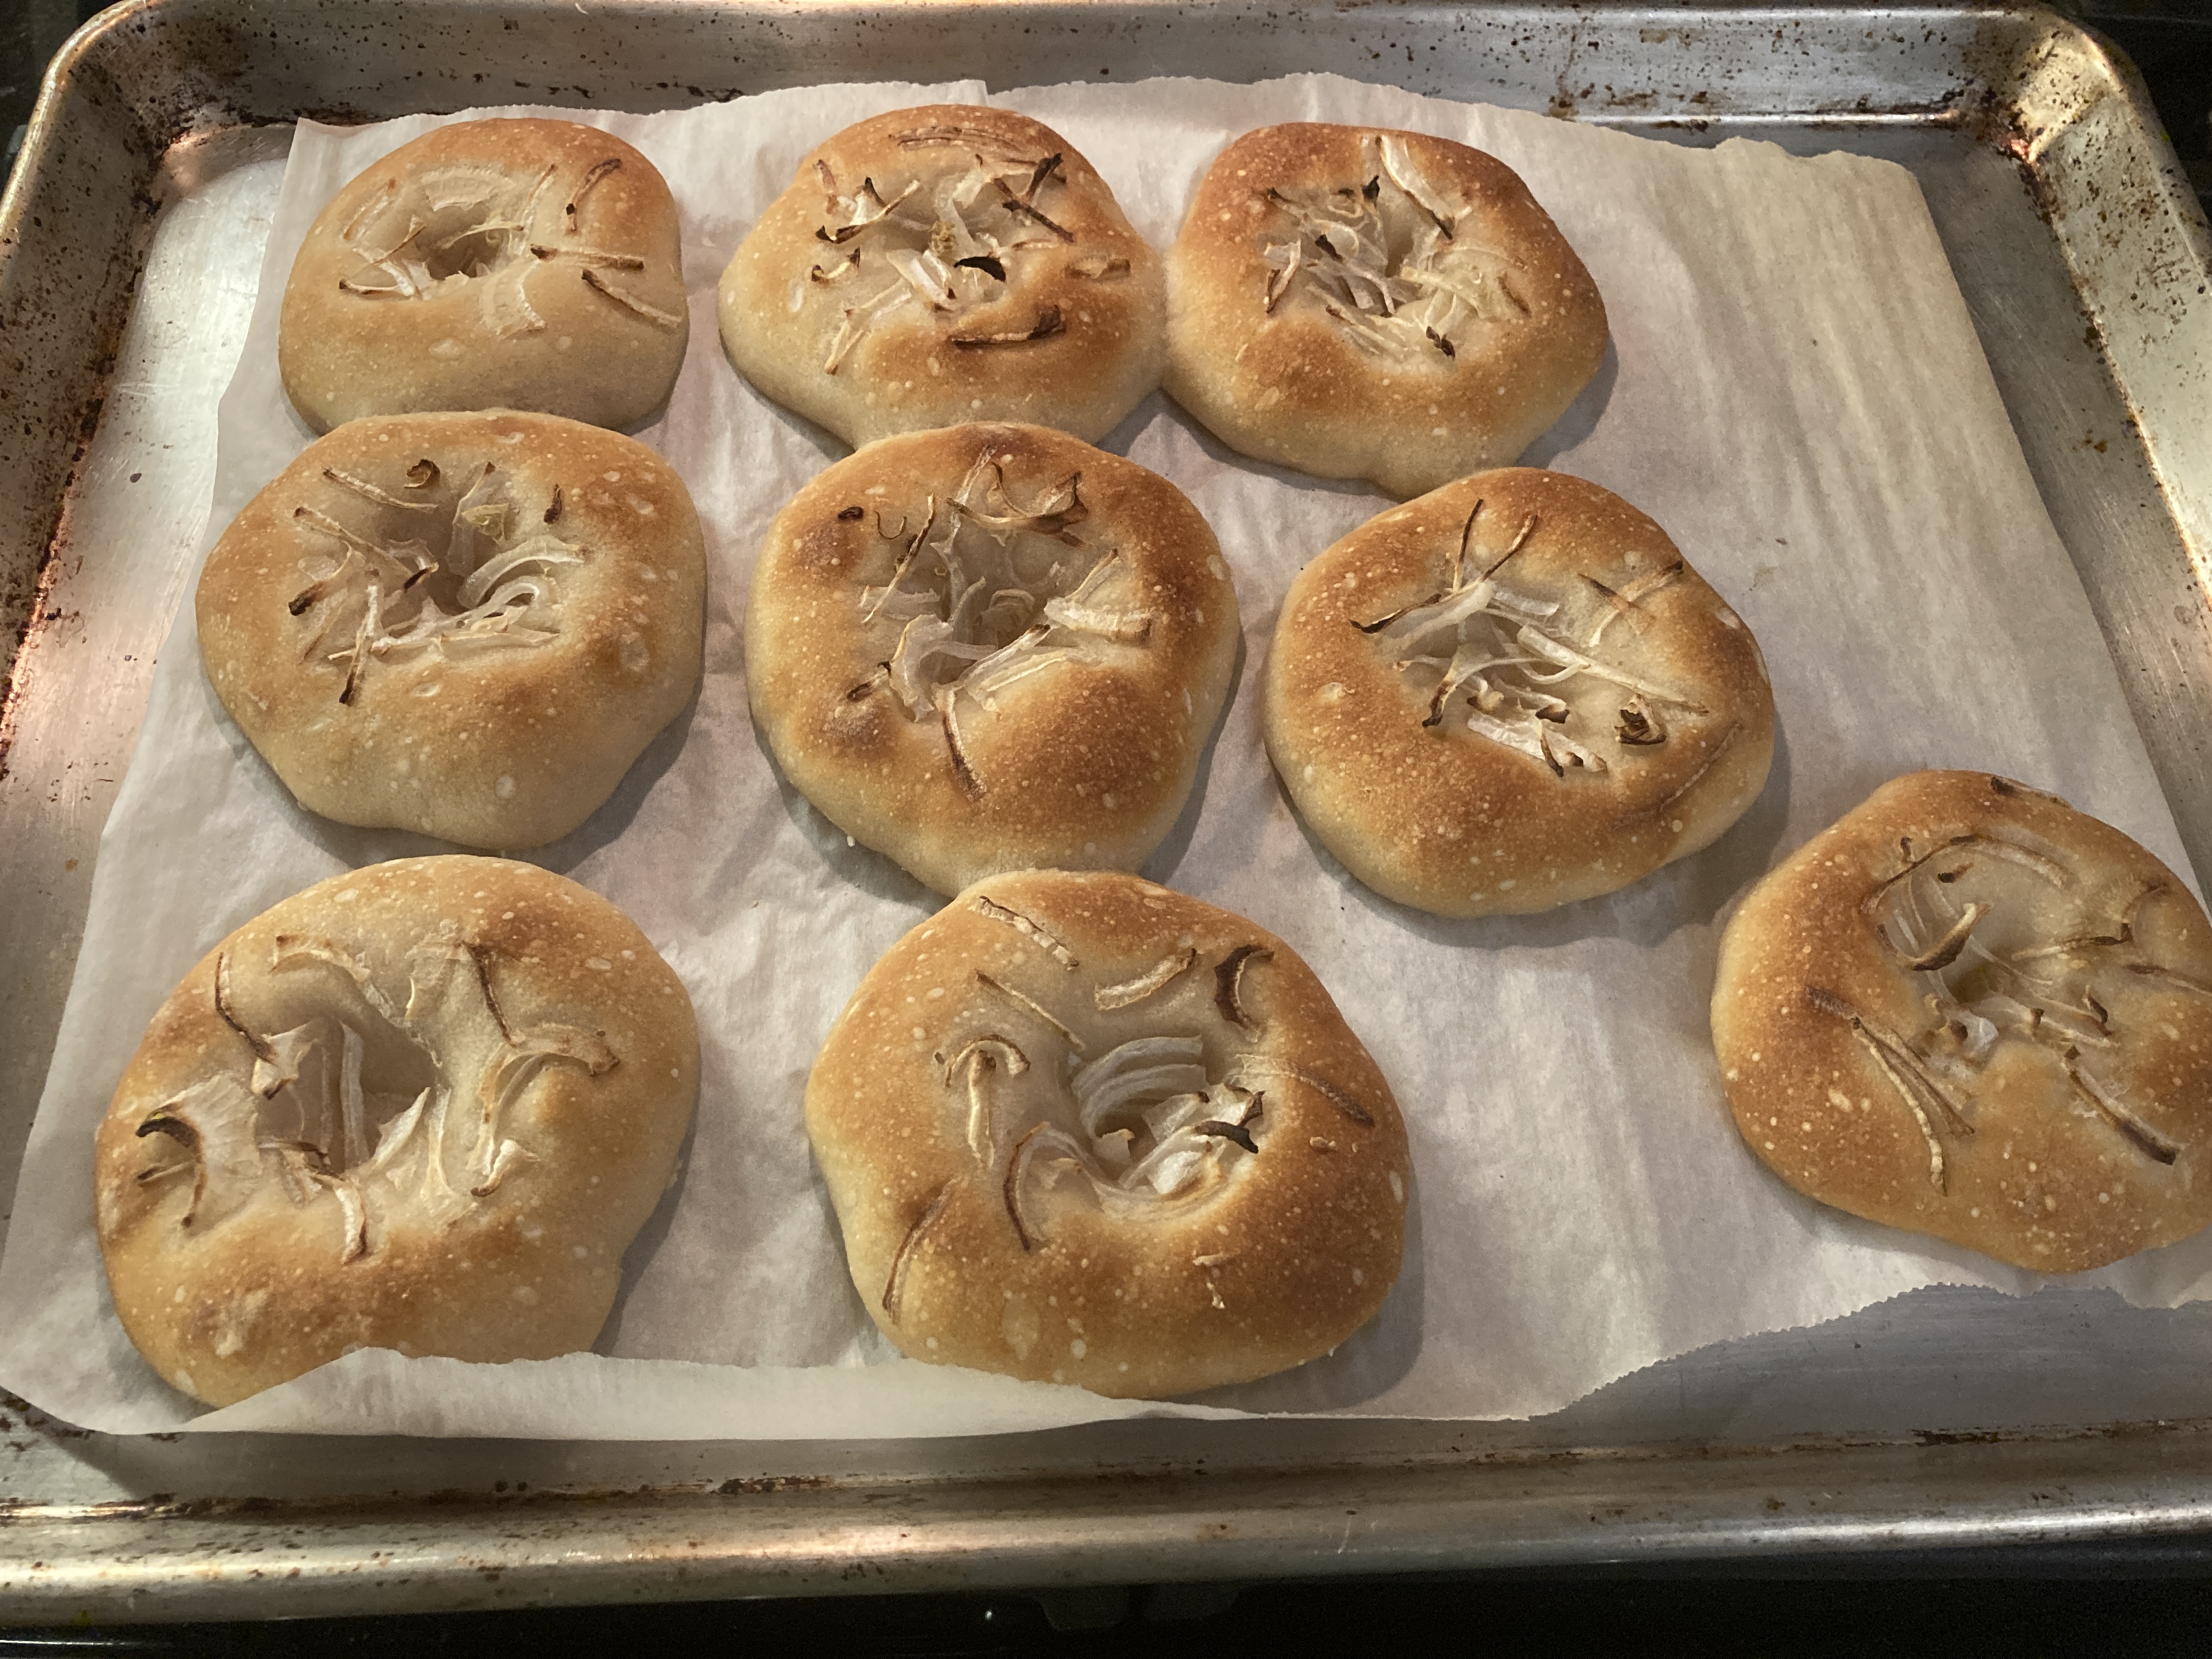
Above: I also had a hankering for bialys
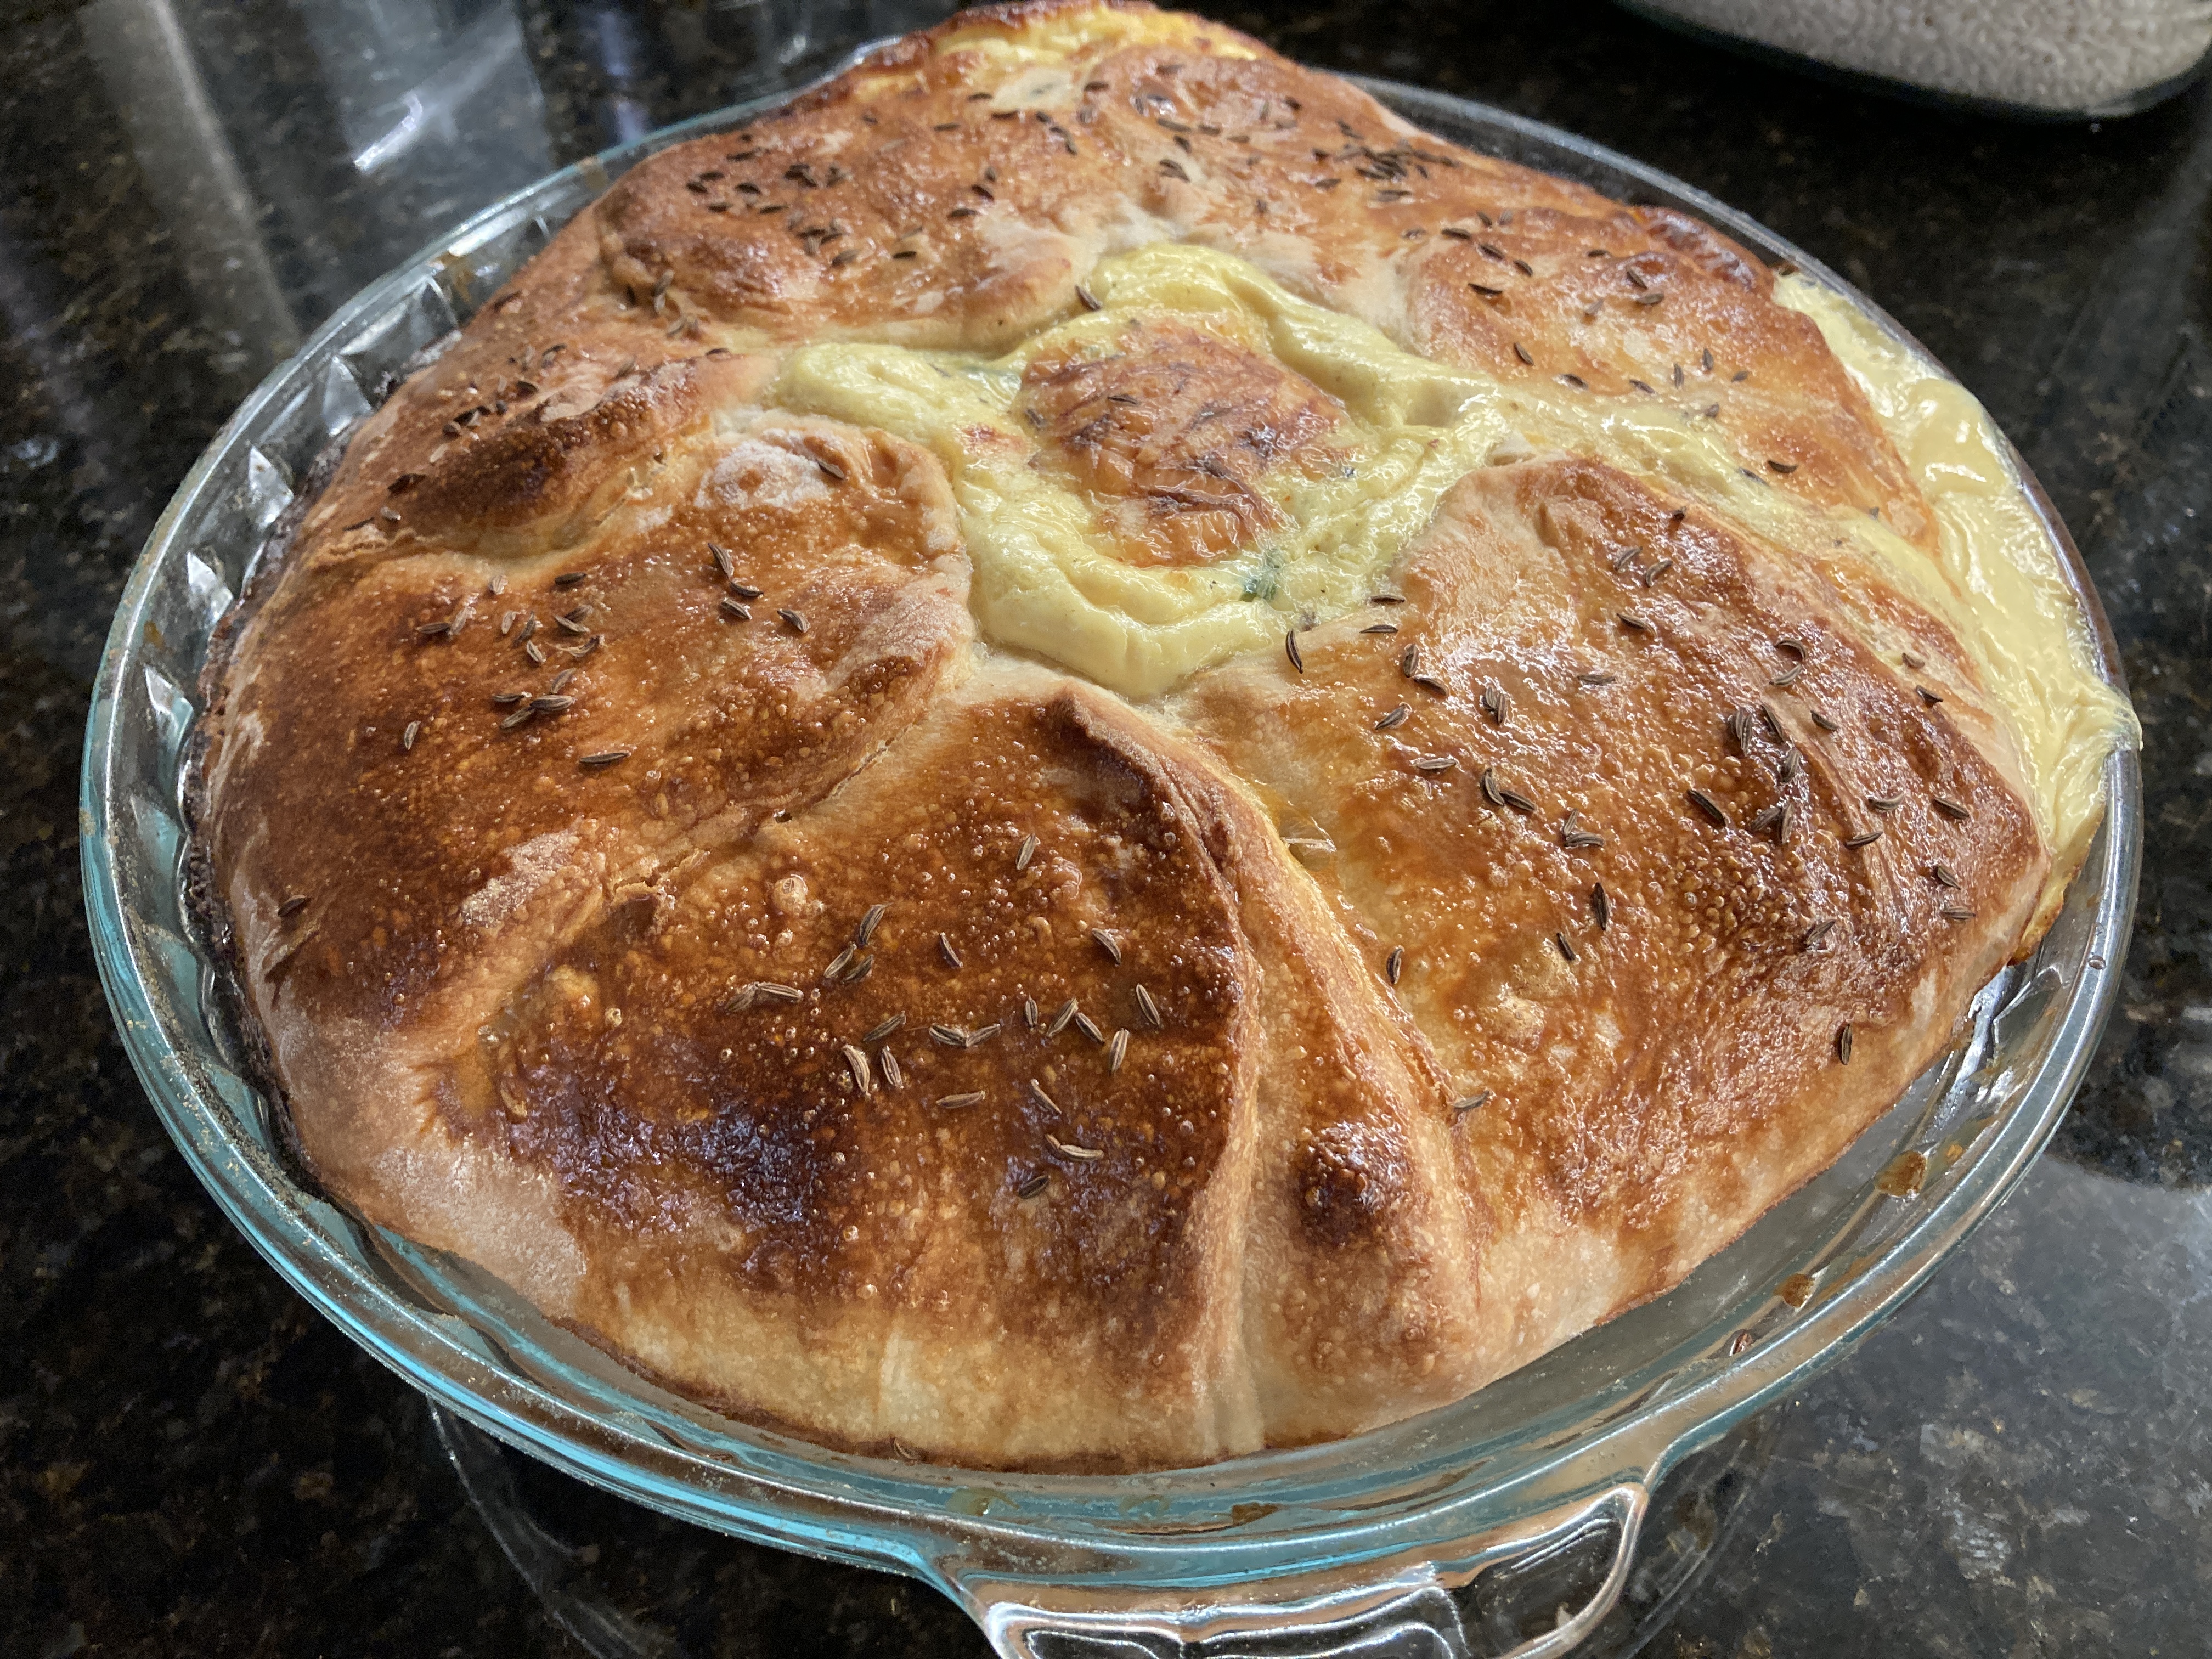
Above: For some reason, I also had a hankering for a traditional krautkuche
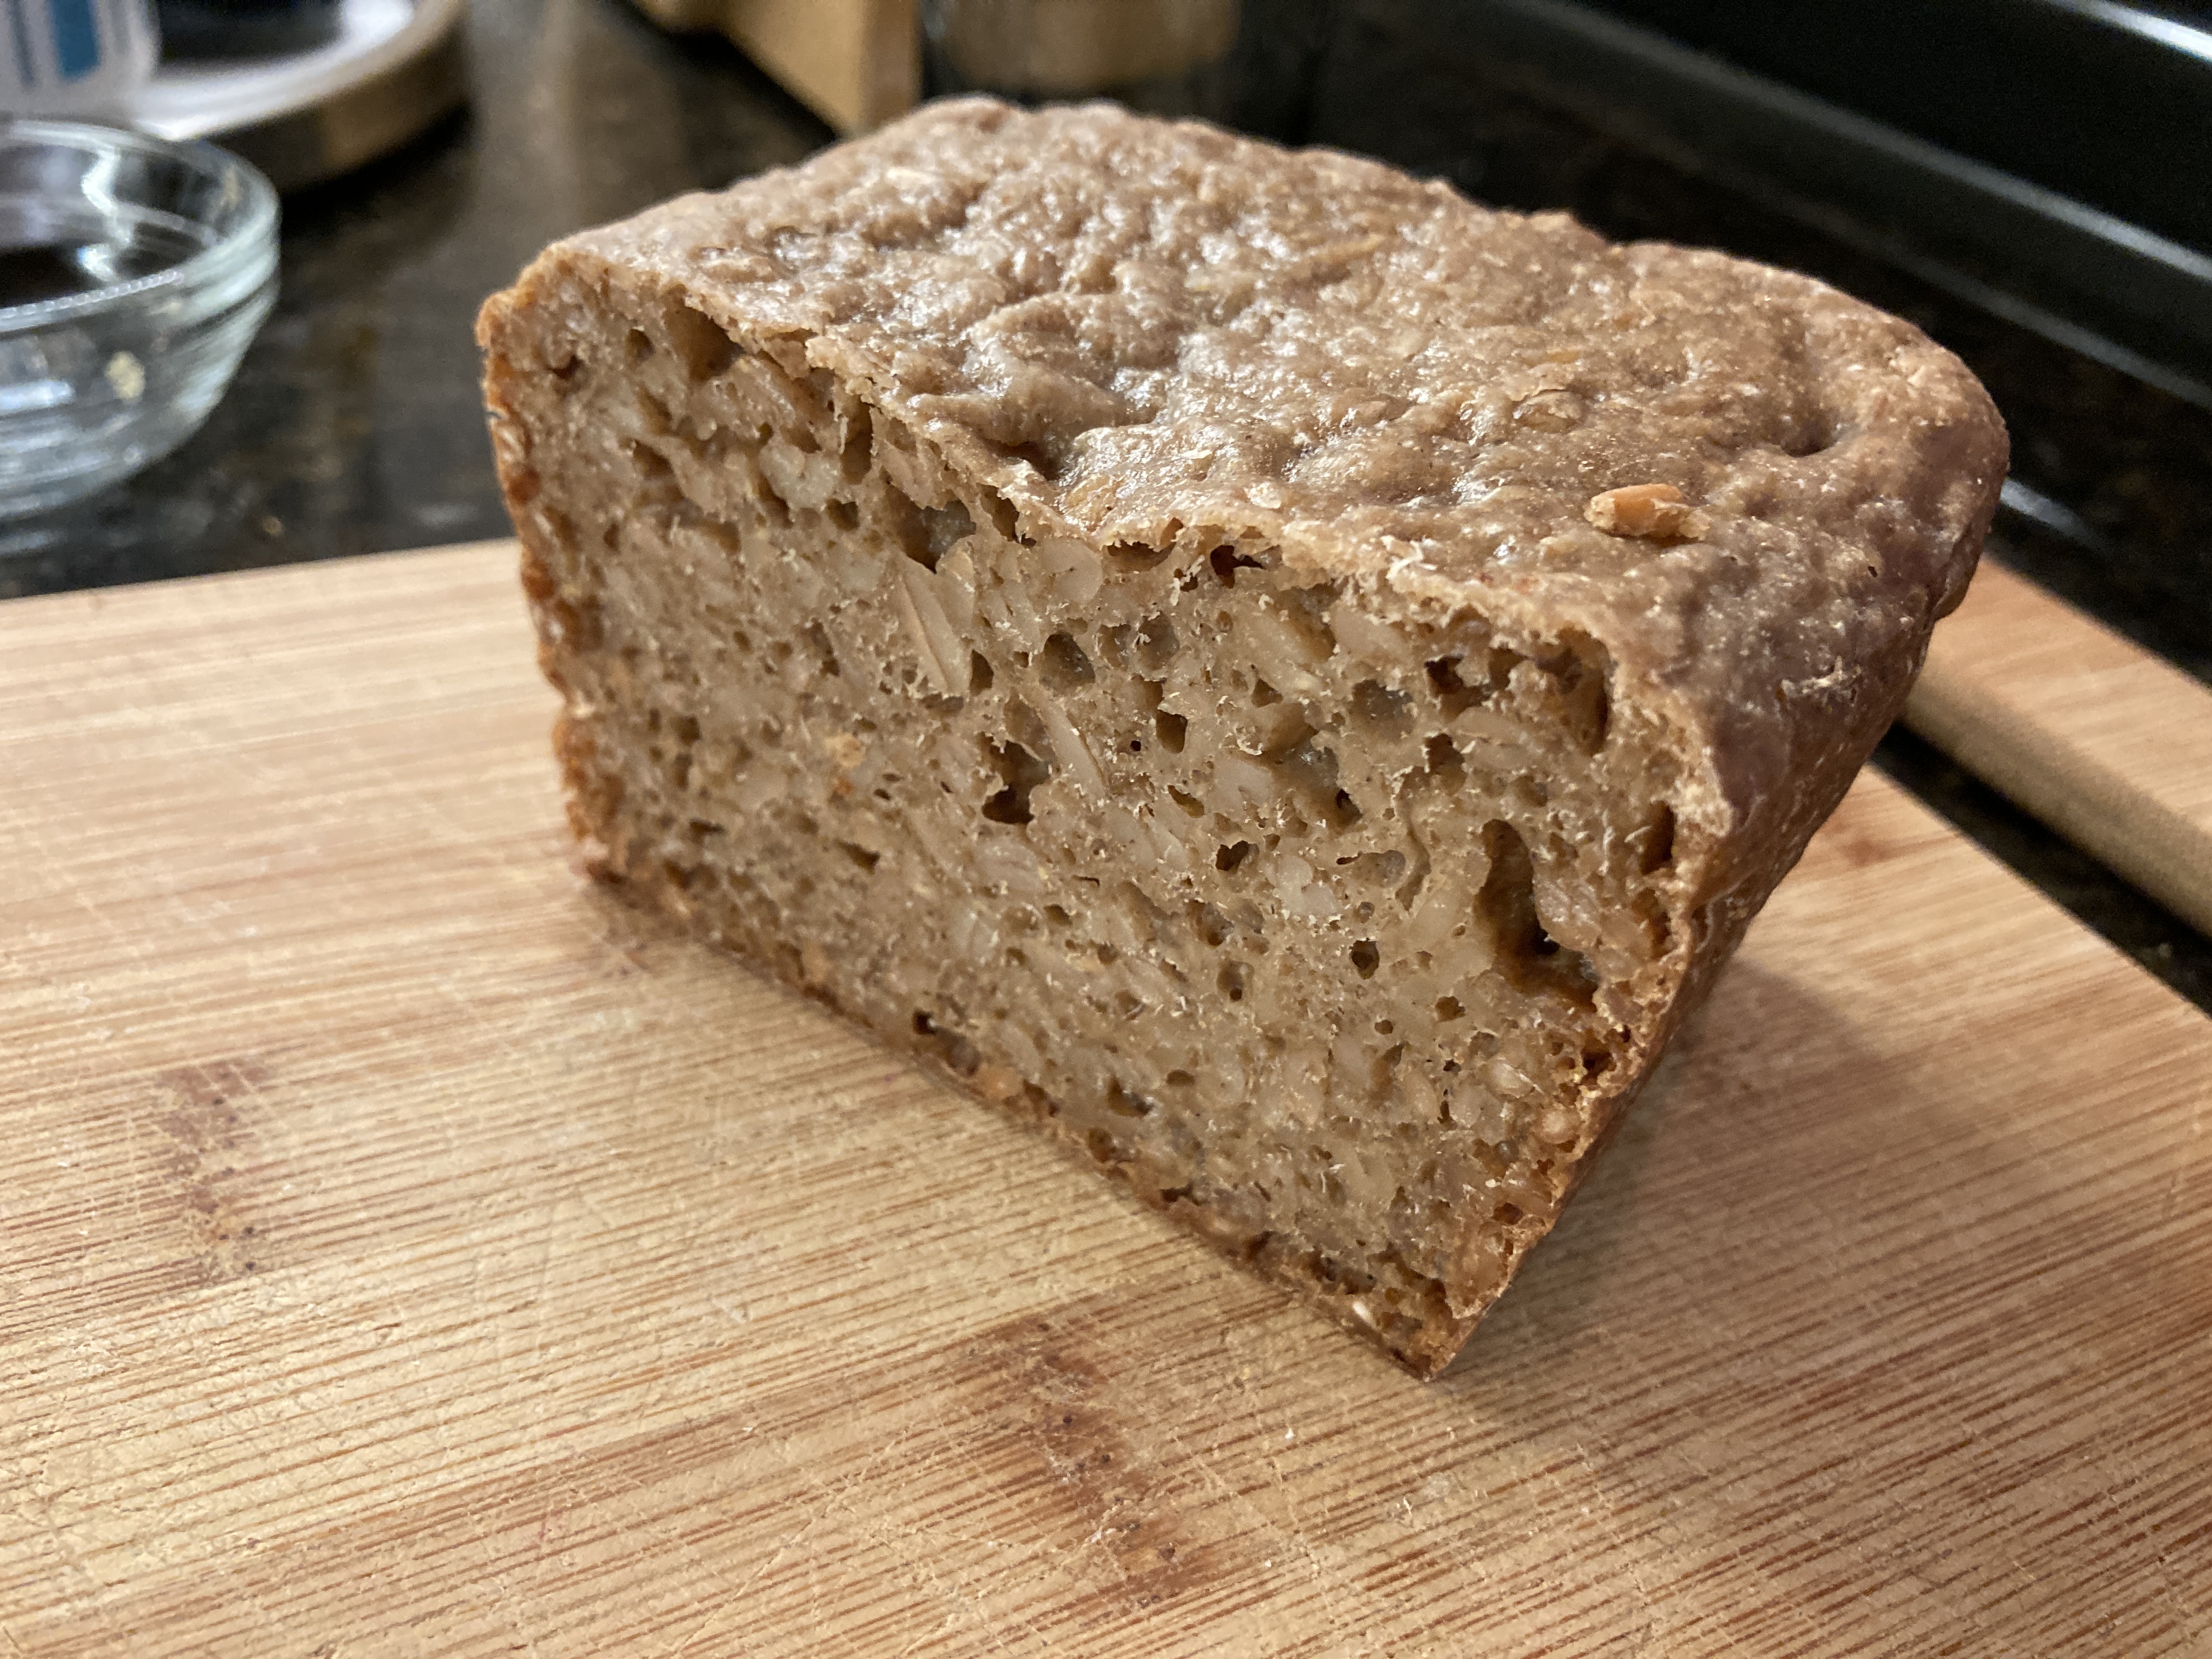
Above: Healthy German schwartzbrot for breakfast
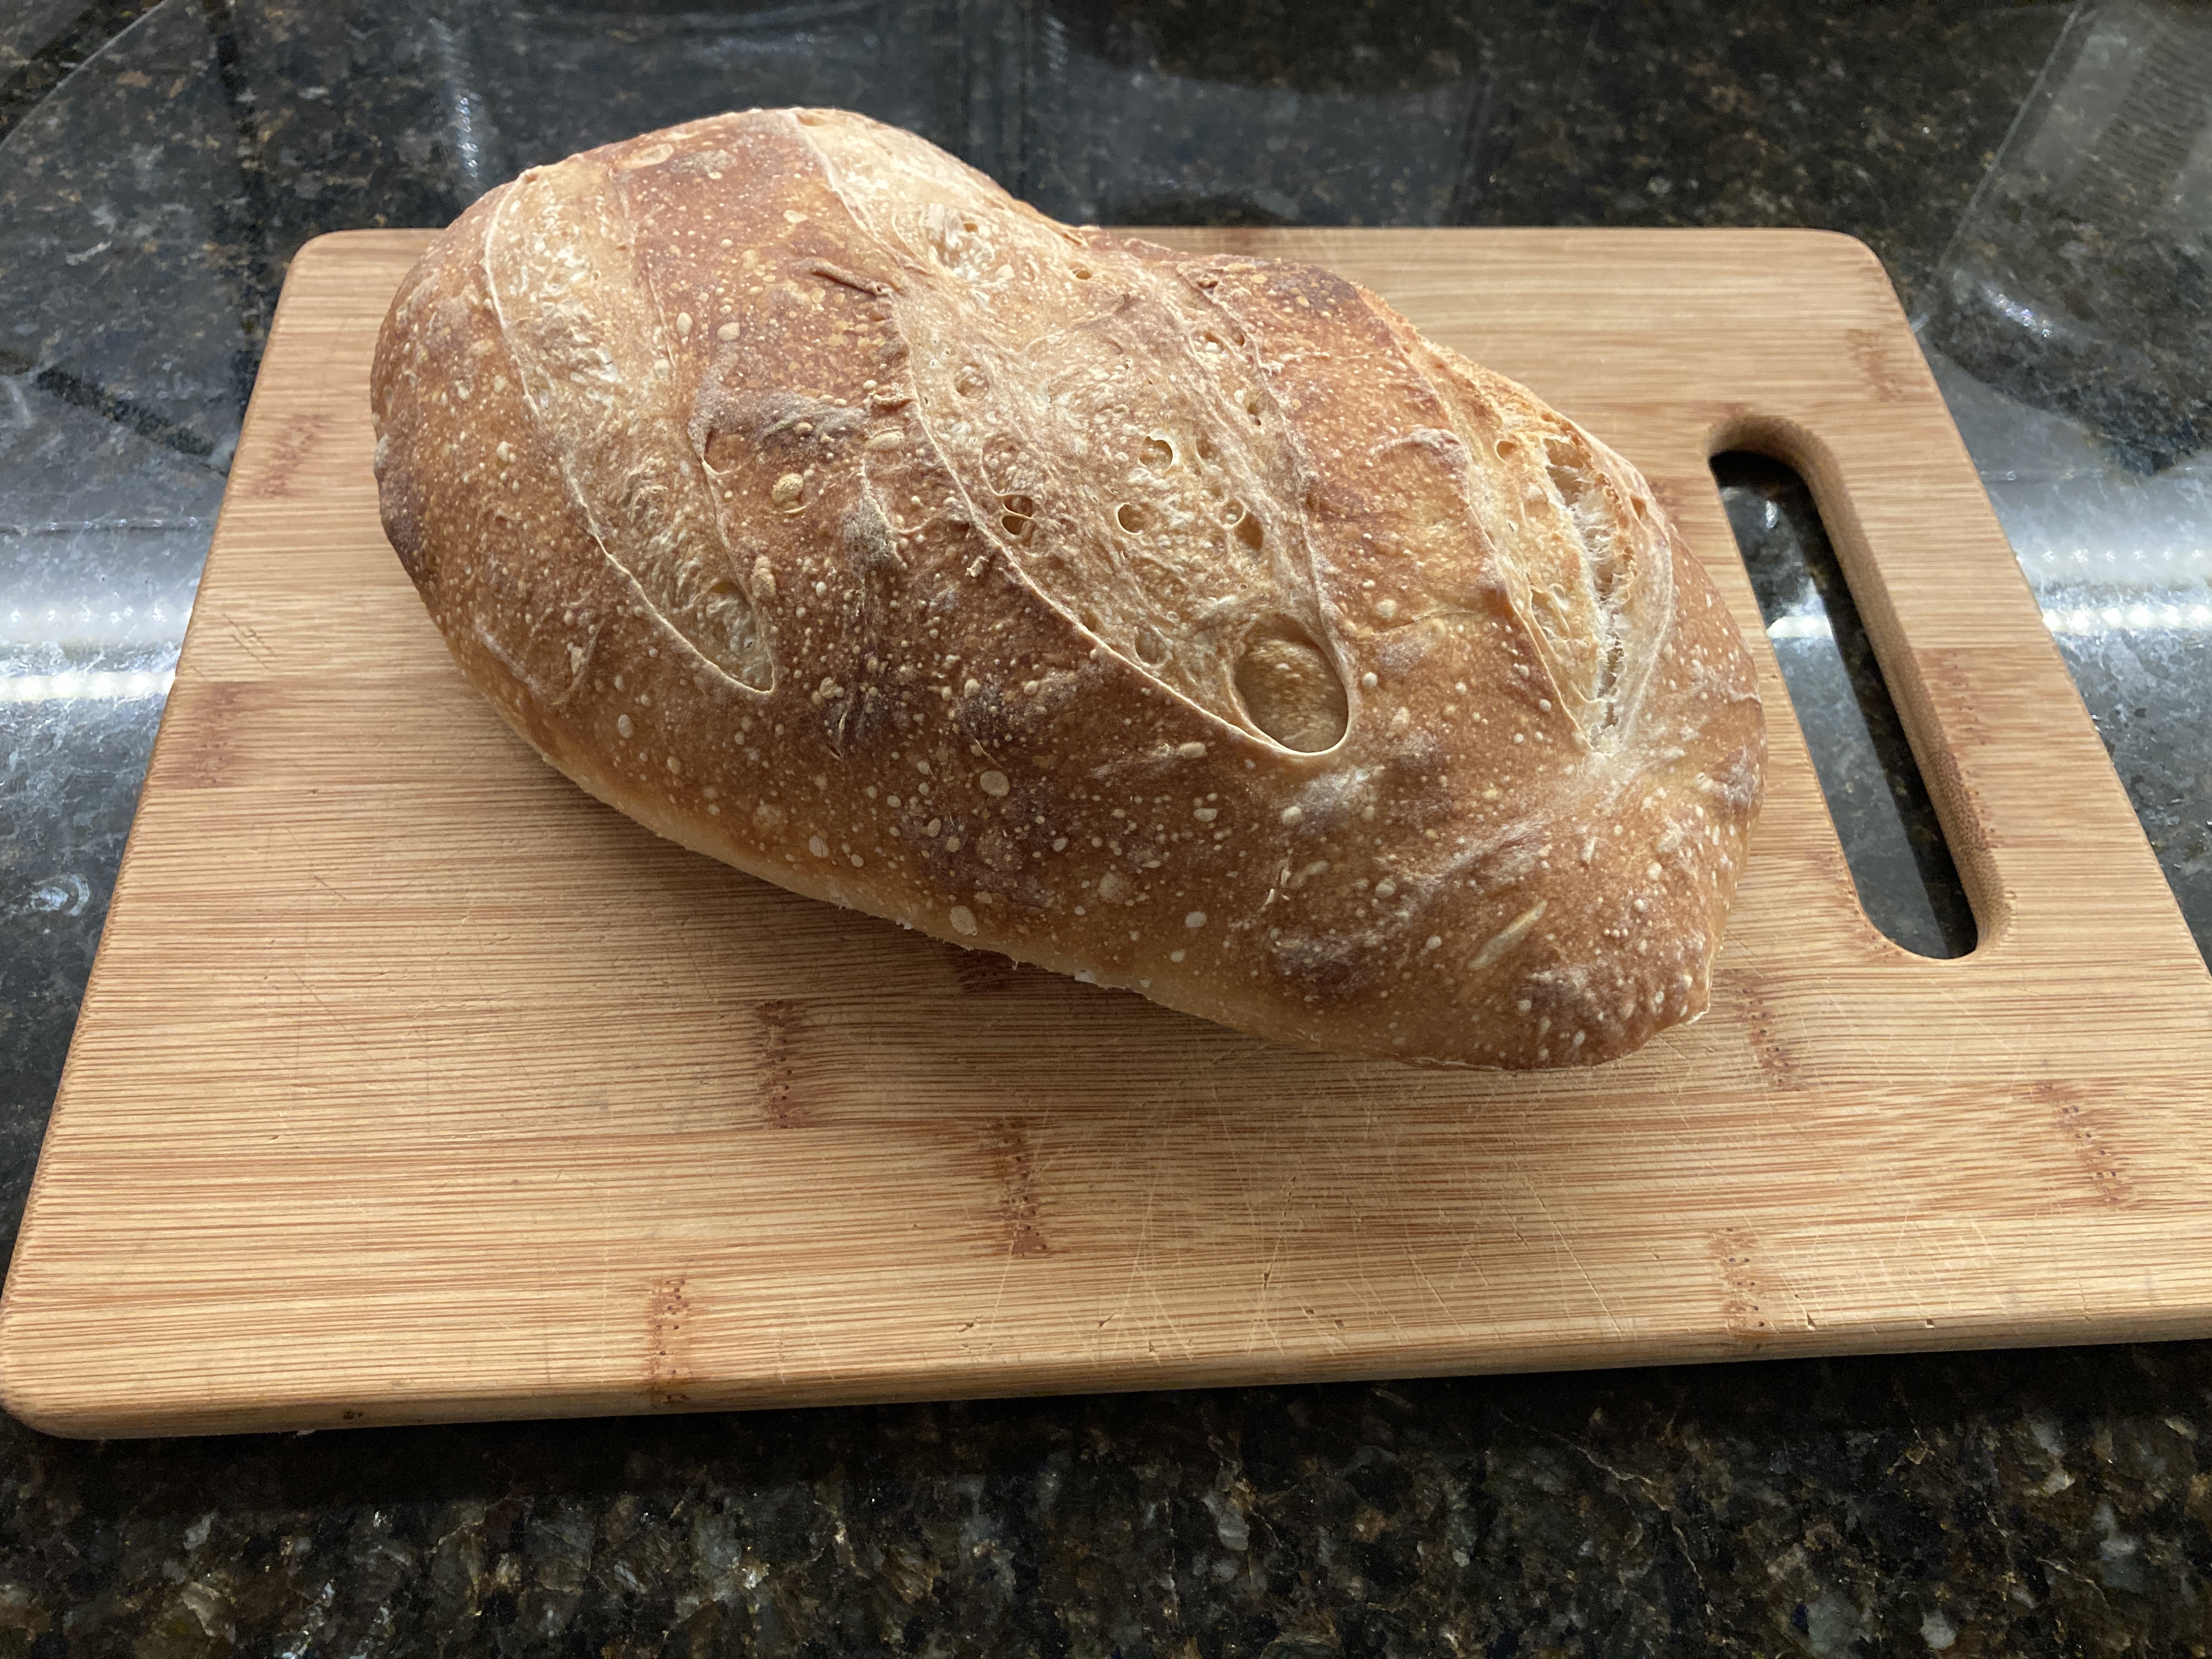
Above: Sourdough sandwich loaf because it’s tomato sandwich season. I’m a huge fan of these bamboo cutting boards (#ad). They are hygienic, durable and made from environmentally sustainable materials
The tl;dr for capturing wild yeast⌗
My process for capturing yeast could be summarized below. At the beginning, don’t worry about measurements.
- Put a piece of dried fruit in jar with a few tablespoons of water and swish around
- When it gets cloudy add a couple of tablespoons of flour
- When it’s clearly forming bubbles, wait until the activity slows down. Then take out all but a couple of tablespoons of water and add a couple of tablespoons of flour and a couple of tablespoons for water.
- Repeat previous step
- Cycle should settle into daily feedings
- Switch to controlled measurements so your hydration levels are consistent and predictable
Level up!⌗
If you’re serious about cooking and want to better understand your ingredients, I highly recommend switching from measuring in tablespoons and cups to measuring by mass in metric for dry ingredients and liters for wet ingredients. Your results will be more consistent and therefore more predictable. I feel it truly helps me understand the relationship between various ingredients in my recipe.
I do not own many OXO products, but I do have OXO kitchen scale which I realize now that I can’t live without. It’s not fancy, but I like the pull-out display, which allows you to put large bowls on the scale and still see the display.
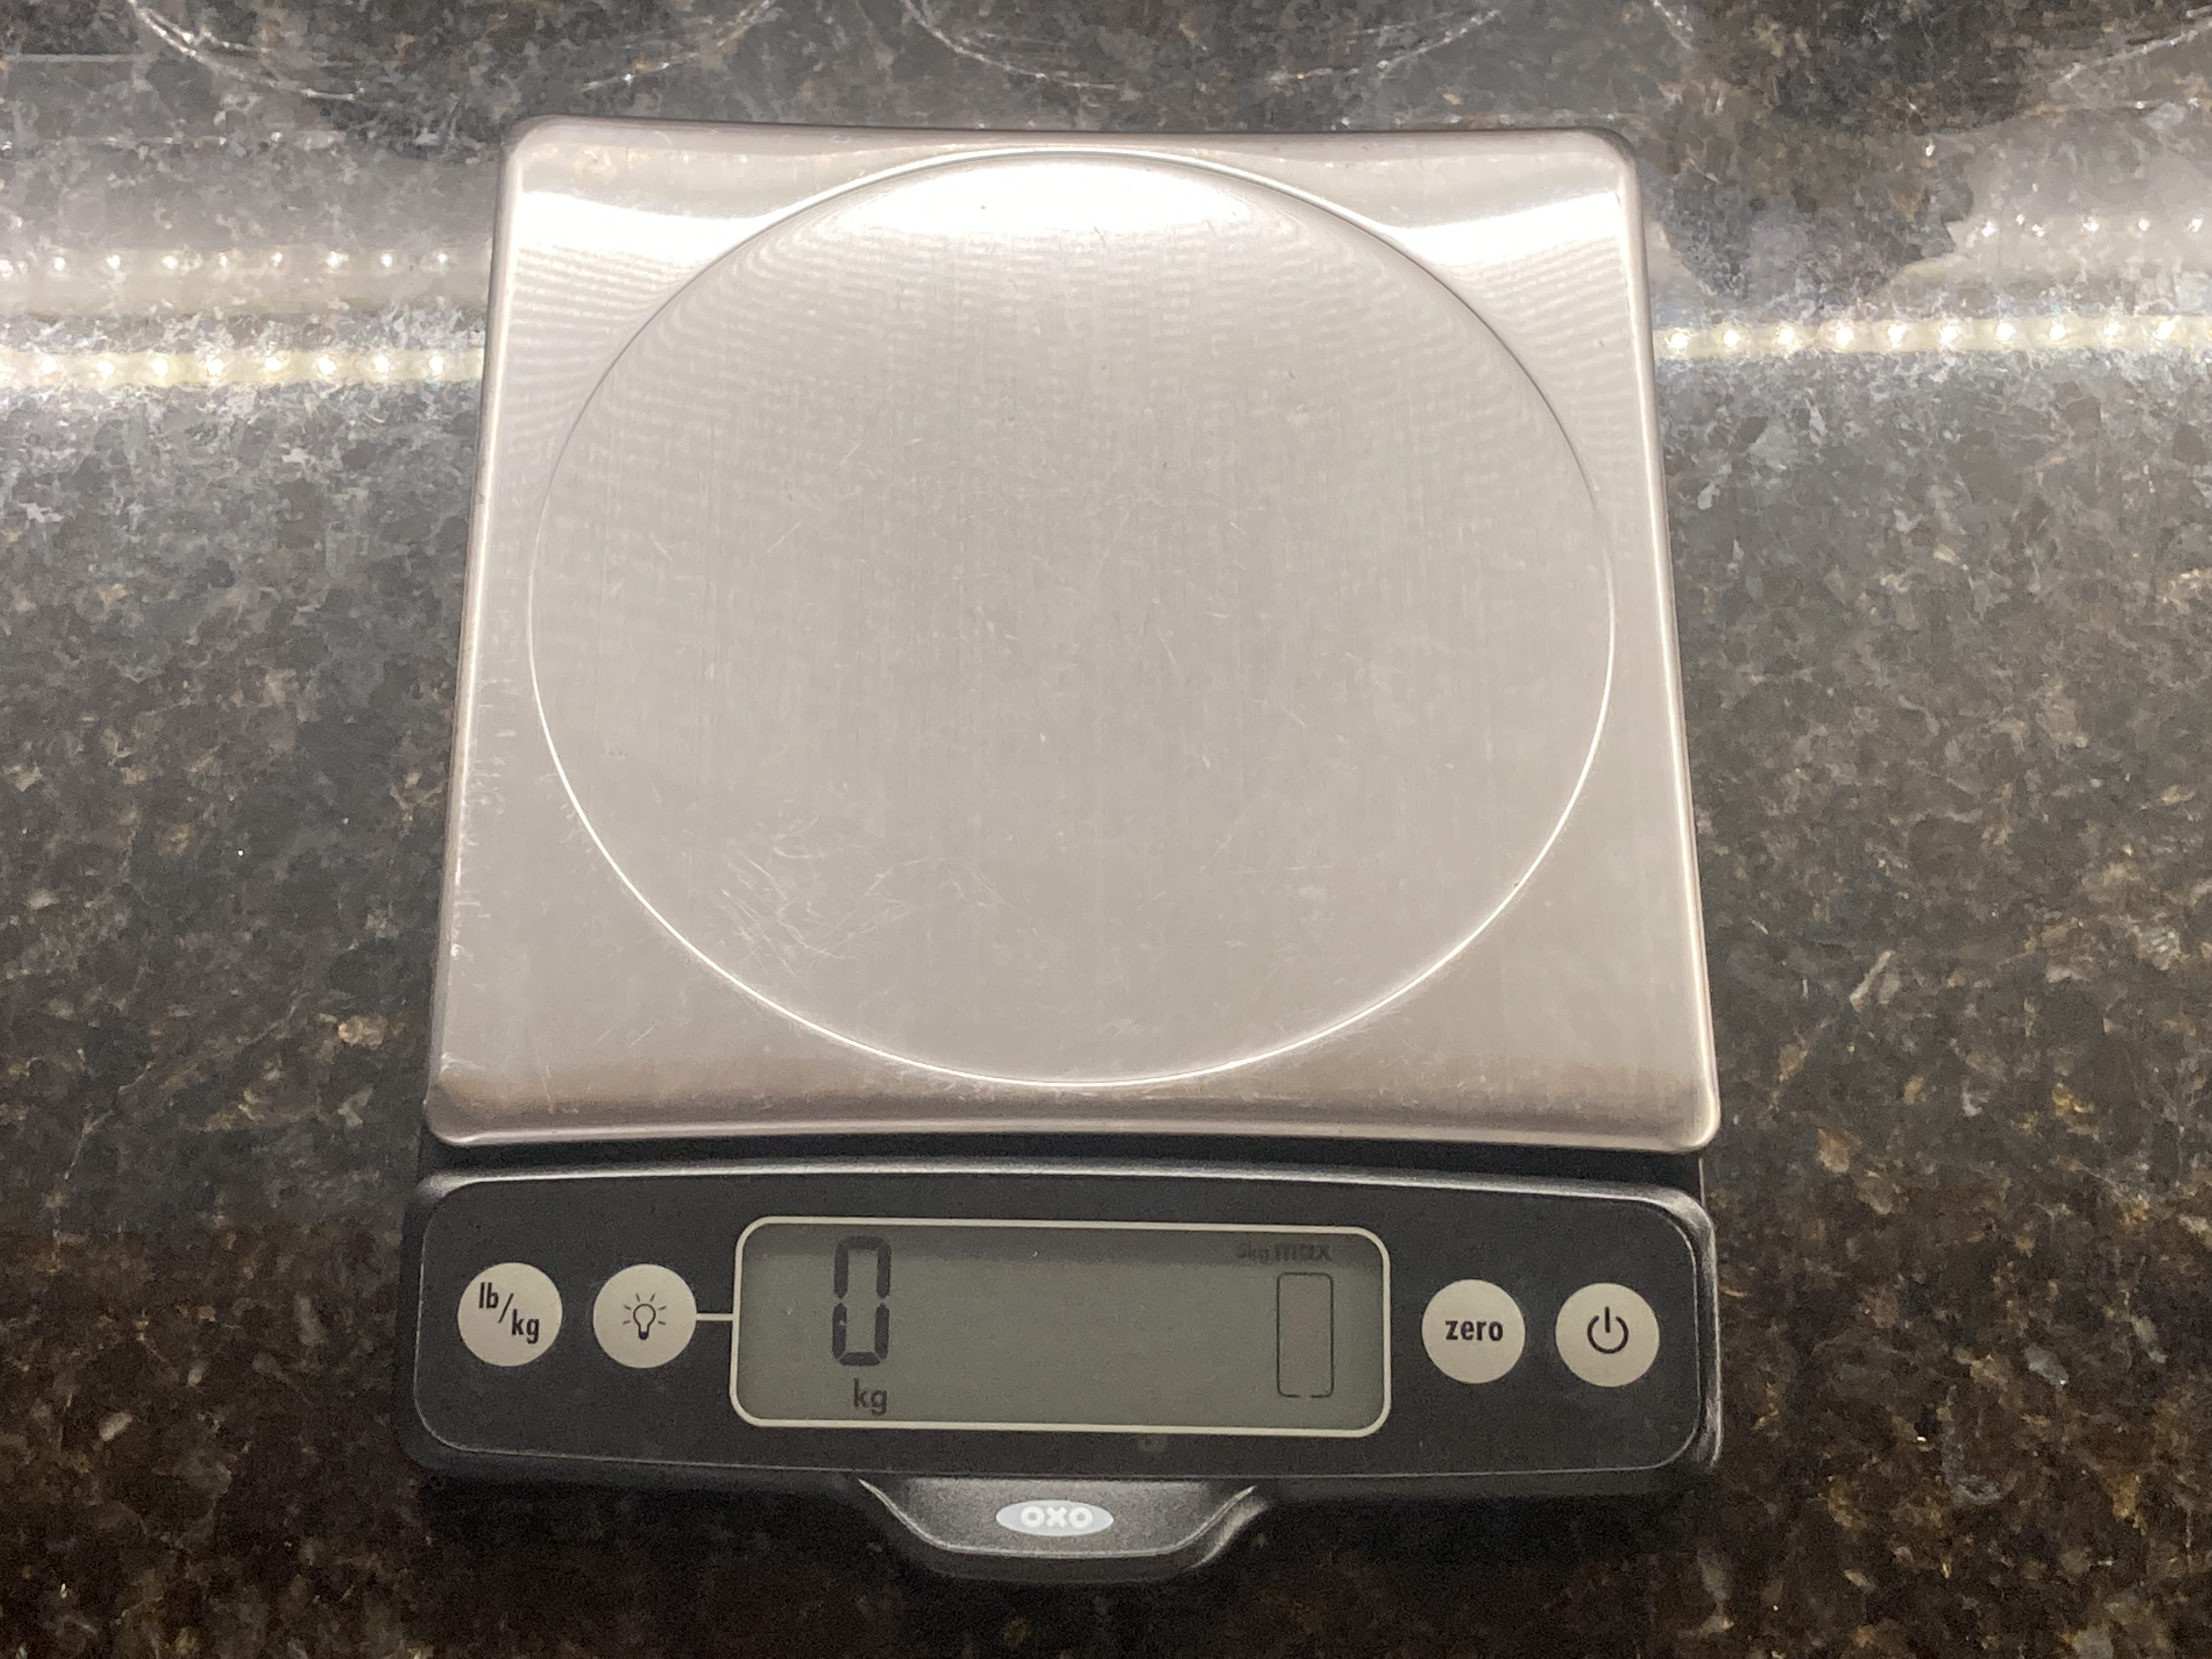
Above: My 11lb/5kg OXO Scale. There is an updated model (#ad) available.
Ultimately the most important factor is accuracy of the scale, so be cautious when considering cheap models from no-name brands. I don’t think they make the model of the OXO scale that I have any more. I think the third one listed below is the replacement model for the one that I have.
Support me with a dumpling.⌗
If you’ve enjoyed this post, please support me with a dumpling :)
Lastly⌗
As an Amazon Associate I earn from qualifying purchases. Your support helps me to continue to write useful and meaningful content!